Free Pattern: The Cozy Hug Blanket
Get cozy with the perfect crochet project – the Cozy Hug Blanket. Learn how to make this beginner-friendly blanket that feels like a warm hug.
This post may contain affiliate links. That means I may make a small commission on items purchased through links in this post at no extra cost to you! Affiliate Disclaimer
Watch My Latest Fiber Videos
I know, this cozy hug blanket crochet pattern is coming a little late in the season… but up here in Wisconsin, the weather is so wishy-washy that a cozy blanket is still much needed. It was 65°F (18°C) yesterday. Today…. Rain all day, and if we’re lucky… 55°F (13°C) and with the quarantine in full effect for at least another 30 days, I figured I cozy blanket would be just the ticket.
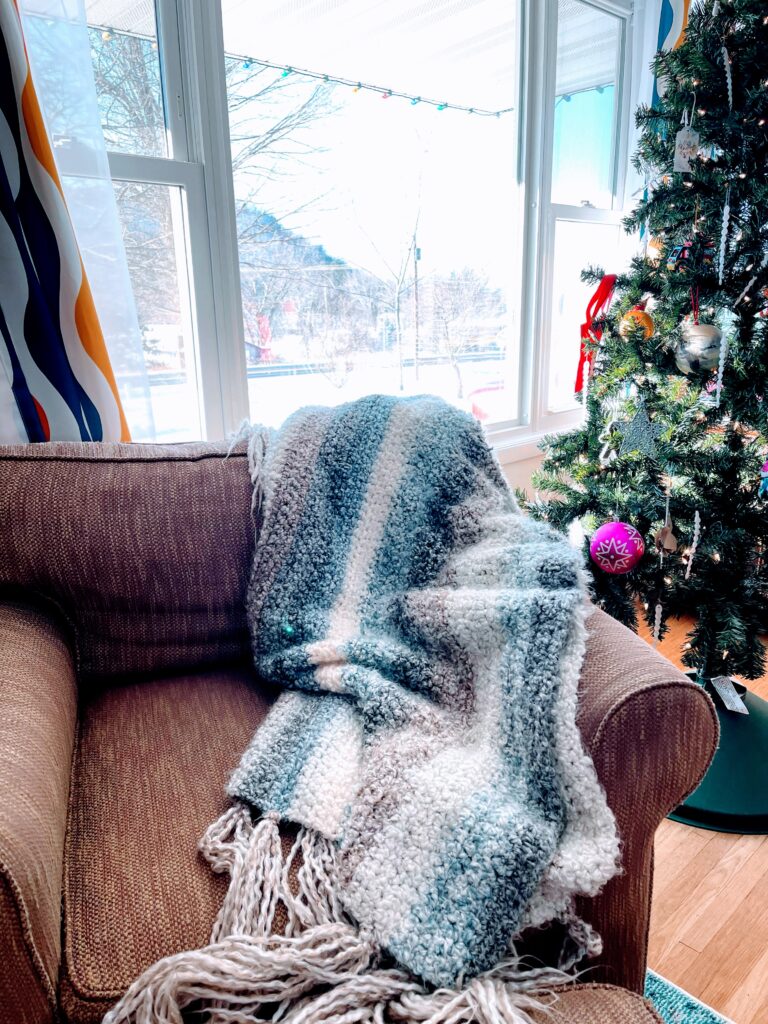
My kids wholeheartedly agree. They all love cuddling with this cozy hug blanket. It’s that perfect, soft, warm, and slightly “heavy” blanket that you can just feel wrapping around you like a hug (ha… get it?).
It’s perfect for beginners. You just need to know how to chain, and hdc. That is it! There is no gauge because this is meant to be a “Make it to the size that works for you”.
Anyhow…. here’s the “pattern” of how I did this. Try it out!
What you’ll need:
- Approximately 960 yards of Super Bulky (6) Bouclé yarn. I used 6 skeins of Homespun® Thick & Quick® Yarn
- I picked this yarn, for its extra softness and fuzziness. But, if you are unable to get this yarn, click HERE for alternatives) This amount includes the tassels on either end.
- size US M13 (9.00 mm) hook, or hook size to obtain gauge scissors/small sheers to cut and trim.
Grab the items on Amazon

Lion Brand Homespun Yarn (3-Pack) Pearls 790-412
Buy Now →
Knitter’s Pride Waves Single Ended Silver Hook,M-13 US / 9.00 mm – Iris
Buy Now →
YOUGUOM Sewing Embroidery Scissors Rainbow Bird Style
Buy Now →Below is the free crochet pattern with pictures and details on how I did it.
Measurements:
58 inches wide and 48 inches long (not including tassels).
Gauge:
8 hdc by 6 rows equals a four-inch (10.16 cm) square. (see notes for explanation)
Abbreviations:
- CH=chain
- st(s)=stitch(es)
- HDC=half double crochet
(see notes for explanation)
Notes:
- chains at the beginning of rows do not count as stitches
- this is a simple blanket and although I have a gauge, it’s not dire that you follow it for this. However, just note the size will vary if your gauge is not matched.
- the pattern is written in US terms
“Pattern”
CH 102 (or however many you need for the width you want. Just remember, that you will be one chain short because when you do to HDC you will start in the 2nd ch).
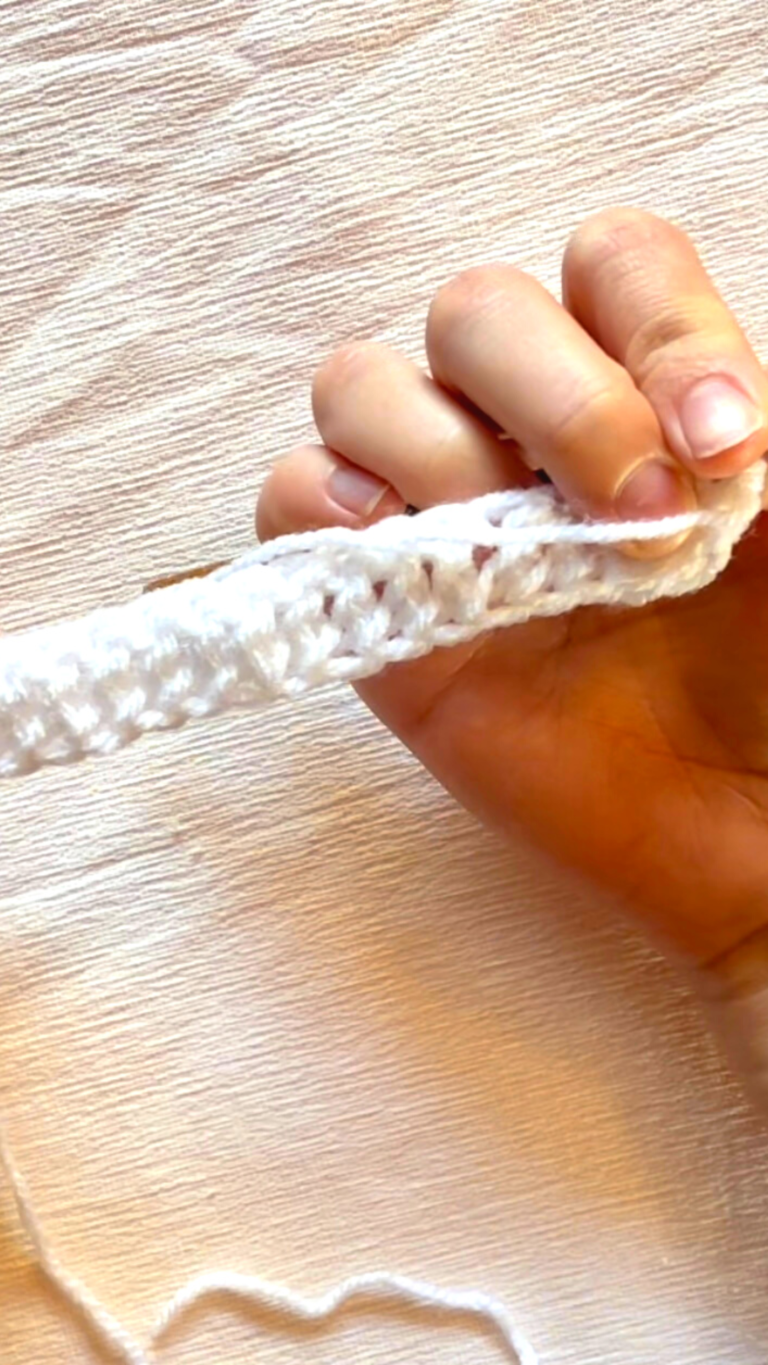
Row 1: HDC into the 2nd ch from the hook. HDC across.
Row 2: Chain 1, Turn, HDC across.
Repeat row 2 until the blanket reaches the length you want. Mine went 48 inches (119.38 cm).
Finish off (leave a tail long enough to trim and be the size of your tassels-approximately 9 inches long)
Next, cut the Fringe (optional)
I used a book that measured about 8 inches in length (so my strands would be about 18 inches long before becoming fringe). Wrapping the yarn around until I got the number of strands I wanted. I wanted 4 strands per group and had 24 groups (12 per side). So I wrapped it 96 times. and cut it at one side (the side I already had the beginning hanging from.
You could also just cut 96 strands at 18 inches long.
Next… put the Fringe on
Grab 4 strands and fold them in half, forming a loop at one end.
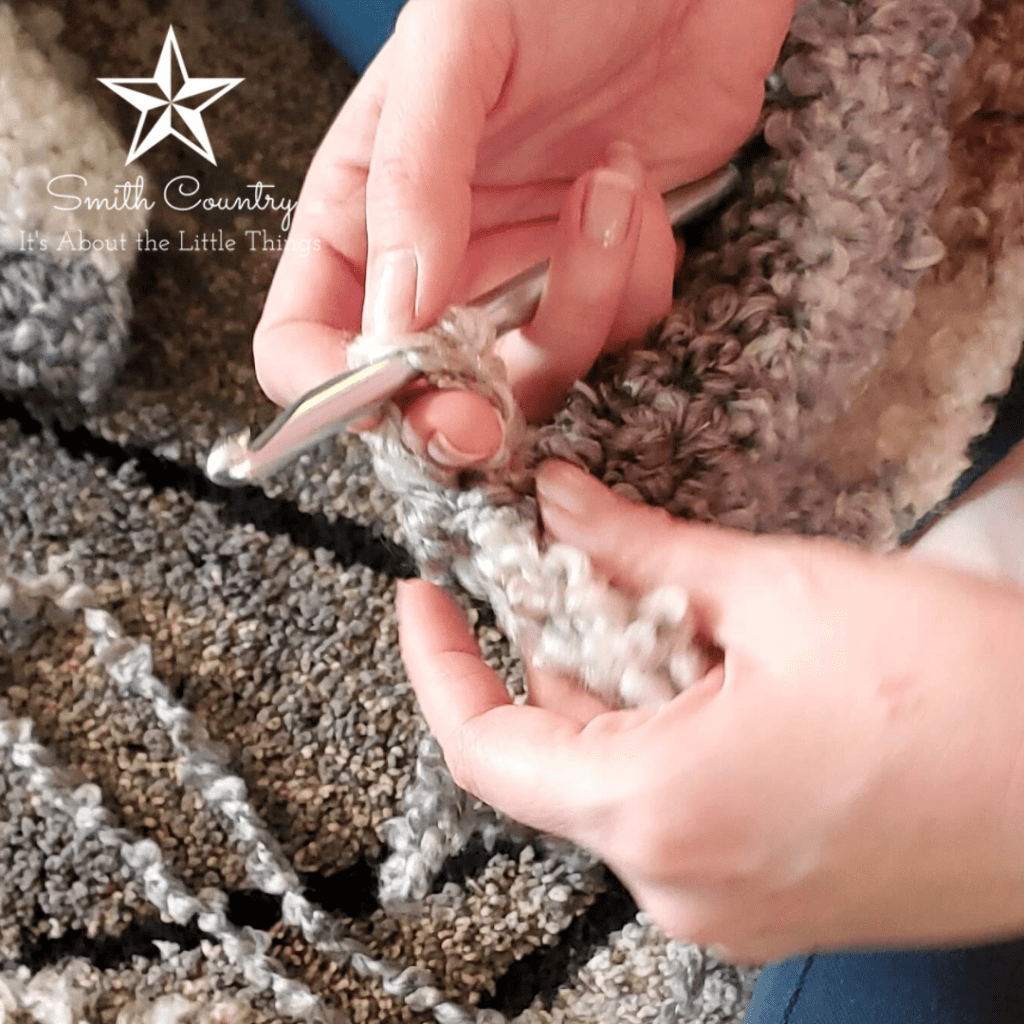
Next, take your hook and draw the loop through the last stitch at the edge of the blanket.


Holding the knot side of the fringe in one hand, pull gently in the middle of the loose end of the fringe with your other hand. Tighten the knot so that it’s secure.
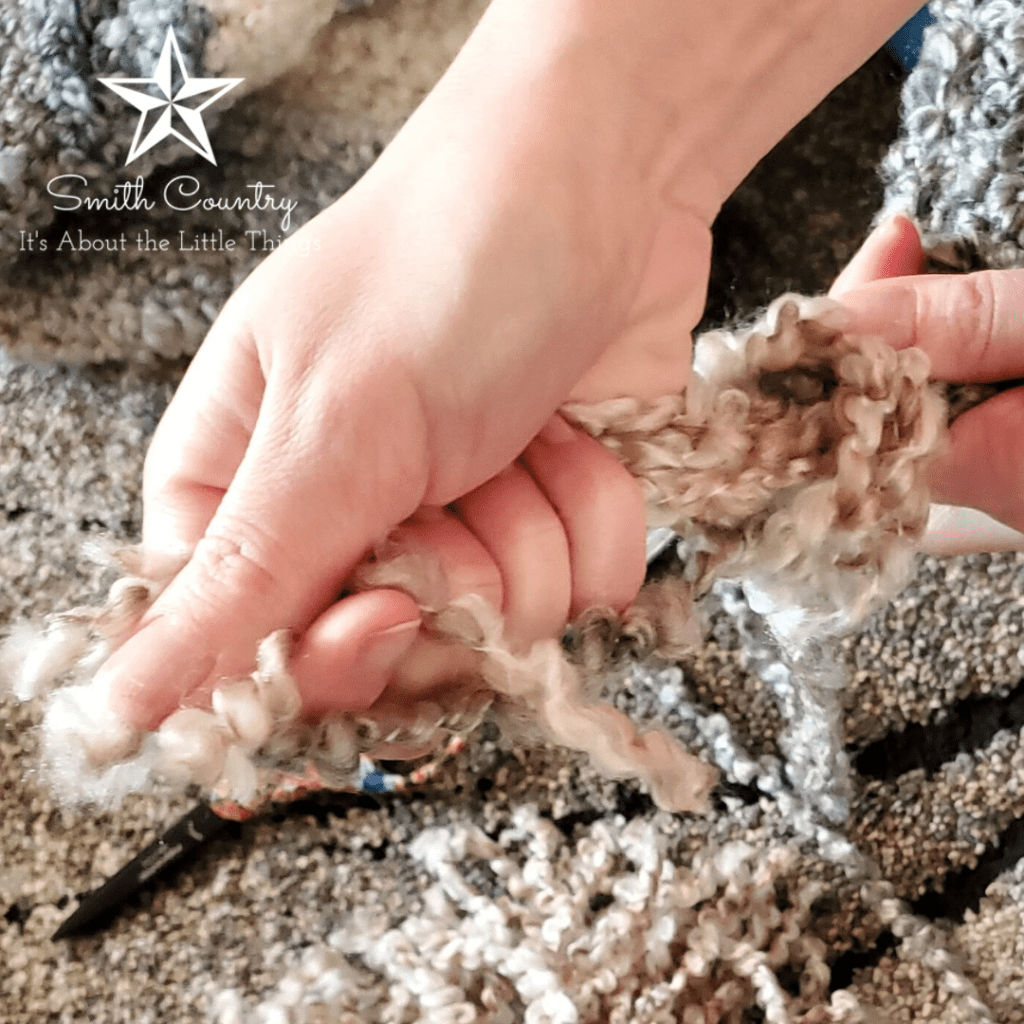

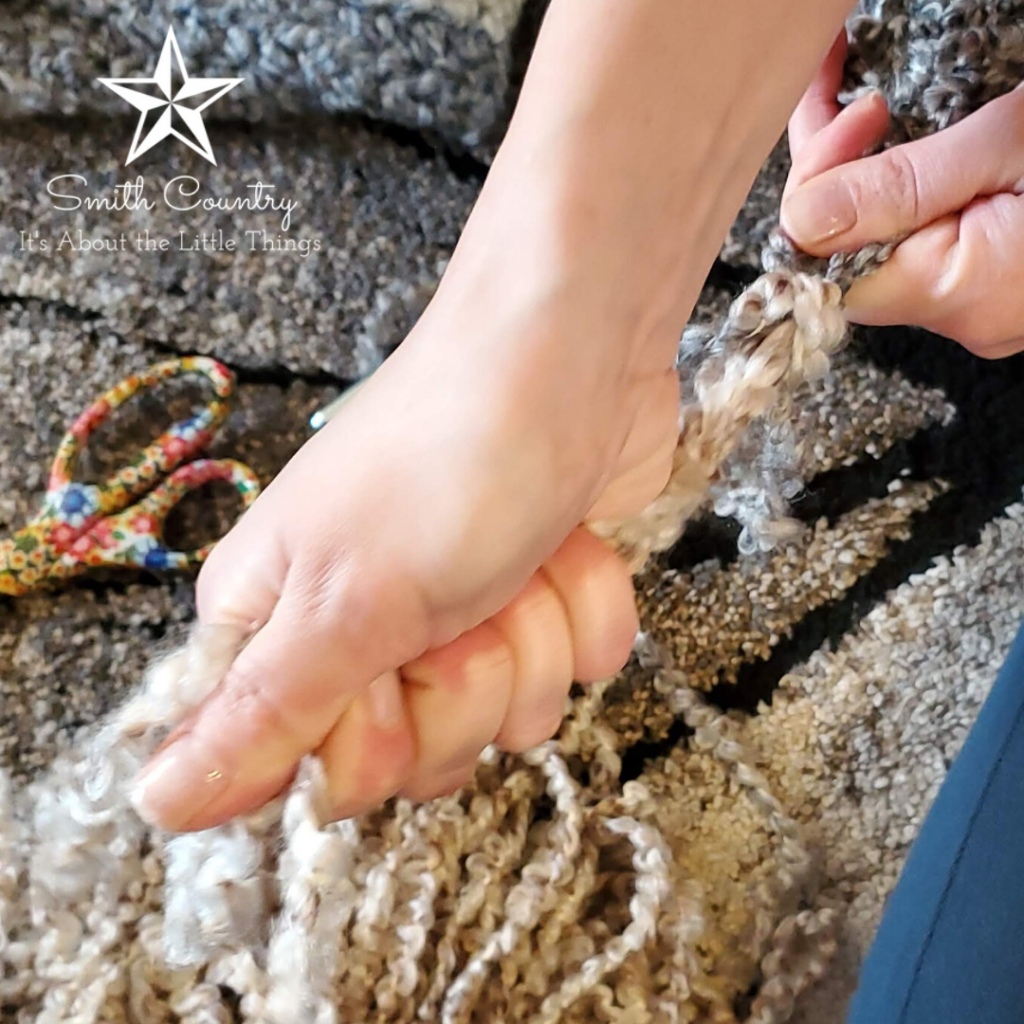
Trim the ends of the fringe so that they’re even (if you want), but to be honest… I didn’t. This yarn is that beautifully imperfect perfect.
Repeat this 12 times on each side. Spreading them out evenly (about every 4 inches give or take).
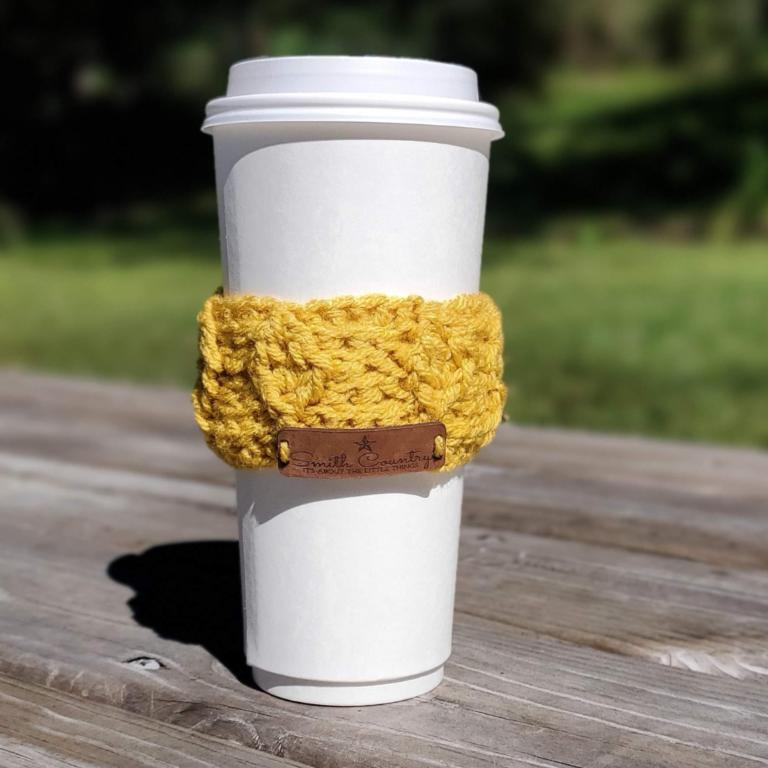
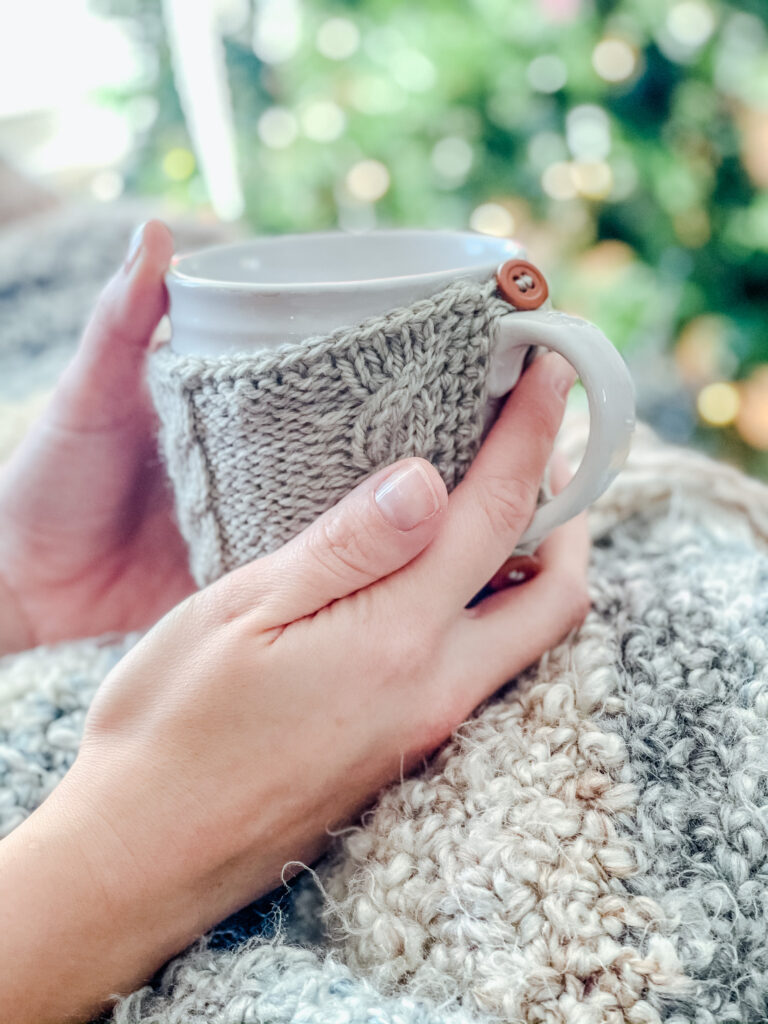
How about a Knit Hygge Cup Sweater to go with your new blanket?
Making it as a gift?
Remember to include a gift tag when giving your gift. And if you decide to share it on social media, feel free to tag me on Instagram or Facebook, @jenngiamsmith #JennGiamSmith. I will always share your posts on my stories and tag you! It’s always a pleasure to see the incredible gifts you create!
You can also share it on this post’s Pinterest Pin! Don’t forget to follow me on Pinterest.

Want to remember this post? Pin it to your favorite Pinterest Board!


Photograph ©2020 Always Jenn Smith; Jenn Smith, LLC FKA Smith Country, LLC
This Blog Post is ©2020 Always Jenn Smith™; Jenn Smith, LLC (FKA Smith Country, LLC) See below for details
Please Be Respectful
All photos as well as the Small tech bag design and pattern are copyrighted by Jenn Smith of Always, Jenn Smith, AKA Jenn Smith, LLC (FKA Smith Country/Smith Country LLC) unless otherwise noted. Please do not (in any way repost) sell, trade, share, redistribute or claim this pattern or any of my content as your own.
You may sell finished items made from my patterns. I do ask that you give credit to Jenn Smith of Always Jenn Smith™; Jenn Smith, LLC as the pattern designer and link to the blog post.
You may link any blog post to a list post as long as you give credit for the content to Jenn Smith of Always Jenn Smith™; Jenn Smith, LLC (FKA Smith Country, LLC), and link back directly to that blog post.
This site displays third-party ads and contains affiliate links, See terms and conditions for ALL affiliates.
Jenn Smith of Always Jenn Smith™; Jenn Smith, LLC (FKA Smith Country, LLC) participates in the Amazon Services LLC Associates Program, an affiliate advertising program designed to provide a means for sites to earn advertising fees by advertising and linking to amazon.com. As well as the Apple affiliate program, now called the Performance Partners Program.
If you have any questions feel free to comment below or e-mail me directly.
Thank you for visiting!


