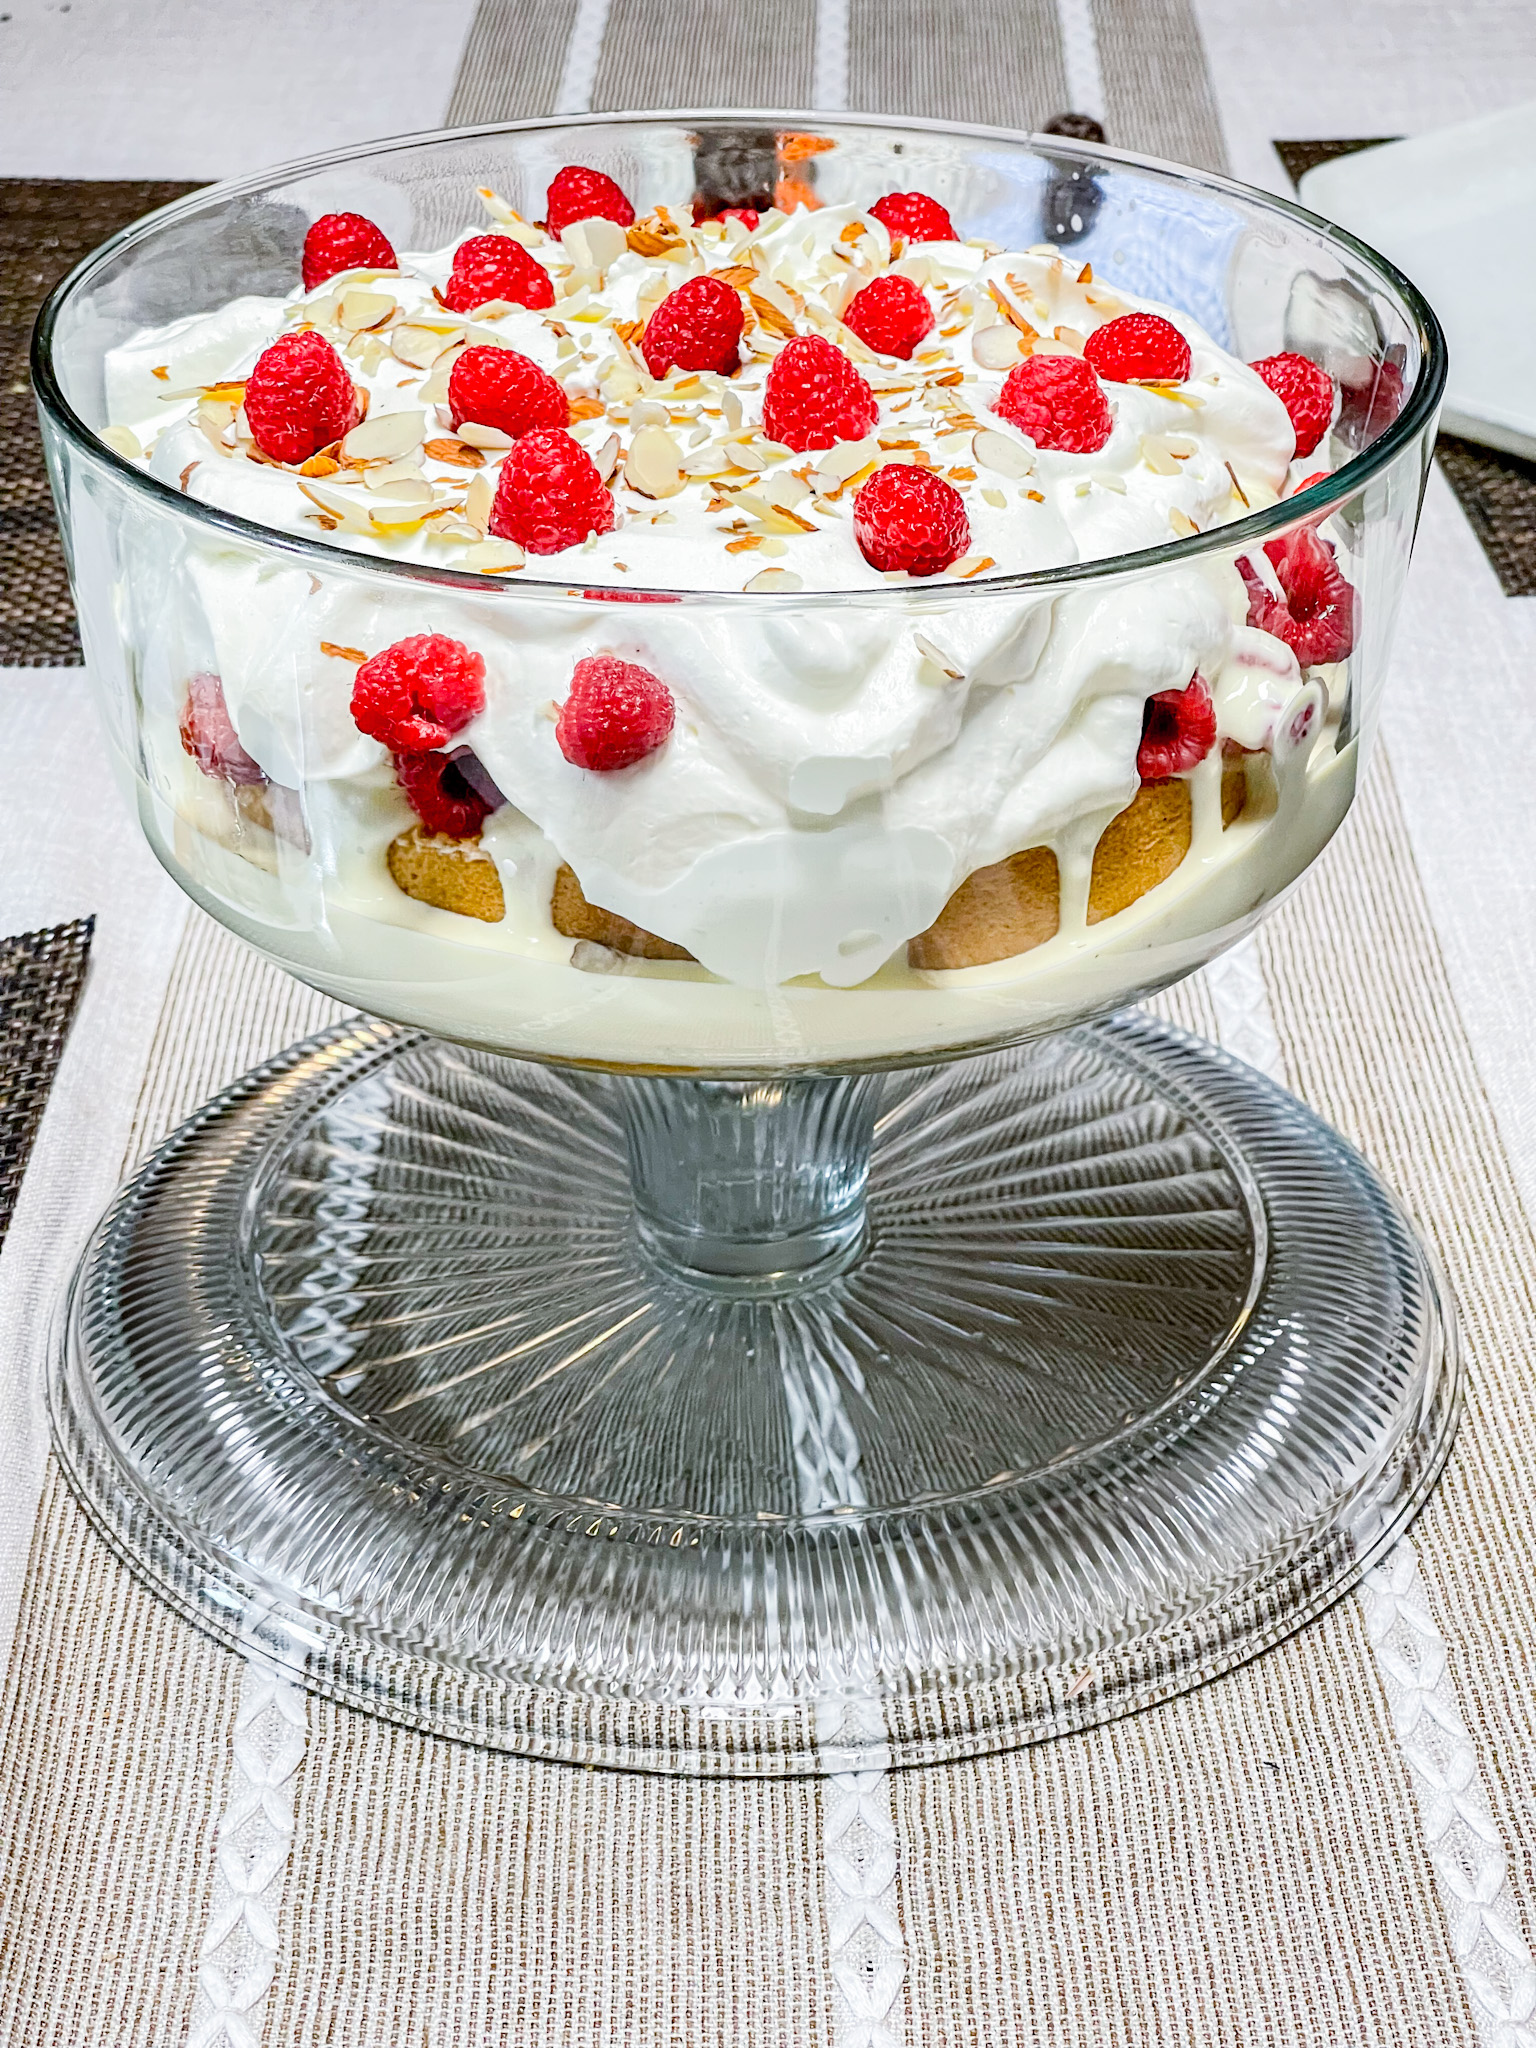
Not So Tipsy Lard Trifle
This post may contain affiliate links. That means I may make a small commission on items purchased through links in this post at no extra cost to you! Affiliate Disclaimer
A couple of weeks ago, I shared our family’s weekly theme we hold every Sunday. It was Scotland this time around. Included was a non-alcoholic version of a Tipsy Laird Trifle (hence, “Not So Tipsy Lard Trifle“). Today, I’m just sharing the recipe again to make it easier for you to find, and I cleaned it up a bit to make more sense.
My Latest Food Videos
A Little Background
So, traditionally, TIPSY LAIRD TRIFLE is made for Hogmanay (Scottish term for New Year’s Eve) and Burns Night, a Scottish dinner celebration used to honor Robert Burns, or Rabbie Burns, Scotland’s most famous poet who lived and wrote during the 18th Century. Celebrations usually fall on or around January 25th, the anniversary of his 1759 birth.
It is also traditionally made with whiskey. But I have 5 kids and was not about to soak cake and berries in whiskey and then give it to my kids. So this is my adaption of the recipe I found on The Spruce Eats. It uses homemade custard instead of store-bought, and I make a simple syrup with clementine & lemon juice, water, and sugar to replace the whiskey. The replacements add an amazing touch of citrus to bring out the brightness of the dessert.

Making the Trifle
The time required for the recipe was determined by the duration of each item’s cooking process. I simultaneously baked the cake, prepared the custard, and made the simple syrup to save time. After completion, I allowed everything to cool before assembling it after dinner. Following the MAKING IT IN ONE DAY approach, it should only take approximately 30 minutes to complete the entire process.
Jenn’s Notes:
Making the Cake in One Day
- Start by mixing and baking the cake.
- While the cake is baking
- Make the custard, whipped cream, and simple syrups.
- Allow the custard, cake, and syrup to cool in the fridge.
- When you’re ready to serve, rinse your berries, and follow the below steps to layer the trifle.
Prepping the Layers Ahead of Time
- Mix and bake the cake and let it cool
- Make and store in the fridge the following:
- almond custard
- whipped cream
- simple syrup.
When you’re ready to serve, take everything out of the fridge, rinse your berries, and follow the below steps to layer the trifle.
Storage
A tipsy laird trifle doesn’t keep well once assembled.
For the best results, plan to prepare and serve this dish immediately, finishing it within 24 hours. If you wish to make it ahead of time, prepare the layering components in advance and assemble them right before serving.
If you prepare everything in advance, the individual components can be stored as follows:
- Airy Genoise Sponge Cake: Stored in an airtight food container in the refrigerator for up to one week.
- Almond Custard: Stored in an airtight food container in the refrigerator for up to three days
- Clementine and Cinnamon Simple Syrup: Stored in a small glass jar in the refrigerator for up to one month
- Whipped Cream: Stored in an airtight food container in the refrigerator for up to one week.A tipsy laird trifle doesn’t keep well after being put together.

Le Parfait Wide Mouth 350ml (12oz) French Glass Jar w/Airtight (Pack of 4)
Buy Now →Trifle Layering
- Line the bottom of a large glass dish or individual glasses with the already cut thick cake slices. If you are using one large bowl, use all the cake in one layer (this is what I did).
- Brush simple syrup onto the cake.
- Reserve a few of the fresh raspberries for decoration, then layer the remainder evenly over the cake slices. Again, in the large trifle, one thick layer is good.
- Pour the remaining simple syrup all over the raspberry layer.
- Pour the almond (Or the ready-made) custard, in another nice thick layer over the raspberries.
- Finish with a thick layer of whipped cream, either spooned over or piped using a piping bag (if you want to get fancy). If you’ve never made whipped cream, check out How to Make Whipped Cream from Scratch. I go over every detail of how to make whipped cream and the 3 different stages your whipped cream can look like.
- Finish the tipsy laird by decorating with reserved raspberries and a few toasted almond slivers.
Shop the blog

Anchor Hocking Canton Cake Dome
Buy Now →
Pastry Brush-3 Natural boar brush
Buy Now →
Wilton Cake Decorating Supplies Kit
Buy Now →


Cooking with Kids
DISCLOSURE: These tips are generalized, and meant to be suggestive. Everything I’m sharing I do with my kids, and they are all different even within my own five. So please take these as suggestions or ideas and if you think your child needs more or less help, then go with what you and your child are comfortable with. Ultimately, you know your kids, do what YOU think is best.
This recipe is a process, but kids can still help.
Older Kids
Of course, as I usually say, depending on your older kids’ age, etc. They can likely help with anything you give them, including putting the cakes in the oven. But to help separate ones the younger kids likely won’t do…
Younger Kids
This was loved by everyone in the family and has been chosen as our new Christmas Dessert! I mean just look at it! Add some strategically placed mint leaves and it would look just like holly!

Did you try it, have questions?
Your feedback is highly appreciated. Kindly share your thoughts in the comments section and don’t forget to rate the recipe, it’s tremendously helpful.
Let’s get social!
Please tag me on Instagram or Facebook, @jenngiamsmith #JennGiamSmith, and share your thoughts. It’s wonderful to see loved ones coming together over delicious food. Or share it on this post’s Pinterest Pin!


Not so Tipsy Laird Trifle
The Not so Tipsy Lard Trifle is an amazing Scottish layered dessert topped with raspberries. This dessert will be the talk of any party.
This recipe is my adaptation of The Spruce Eats Recipe.
- Total Time: 4 hours 35 minutes [See NOTES ON THE PROCESS 2 for details]
- Yield: 6 people 1x
Ingredients
Trifle Itself
- 10–ounce sponge cake – Continue for Recipe [see NOTES 1 for substitutions]
- 12–ounces fresh raspberries
- 6 tablespoons Clementine and Cinnamon Simple Syrup (plus more for brushing the cake) – Continue for Recipe
- 2 cups Almond Custard – Continue for Recipe
- 2 cups Whipped Cream [see NOTES 2 for substitutions, NOTES ON THE PROCESS 1 for details]
- 1/4 to 1/2 cup thinly sliced almonds
Airy Genoise Sponge Cake (Courtesy of The Spruce Eats-some changes by me)
- 1 1/2 cups (+ for pans) cake flour [see NOTES 3 for substitutions]
- 5 large eggs
- 3/4 granulated sugar
- 1 teaspoon vanilla extract
- 1/2 stick (+ for greasing pans) unsalted butter (melted) [see NOTES 4 for substitutions]
Almond Custard
- 1 cup whole milk
- 1 cup heaving cream
- 4 egg yolks
- 1/2 Tablespoons vanilla extract
- 1/2 Tablespoon almond extract
- 1/3 cup powdered sugar
Clementine and Cinnamon Simple Syrup
- 3 Tablespoons Lemon Juice (This is the juice from about 1 fresh lemon)
- 2 Tablespoons Clementine Juice (This is the juice from about 1 fresh clementine)
- 3 Tablespoons Water
- 1/2 cup granulated sugar
- 1 teaspoon ground cinnamon
Instructions
*Before you get started see NOTES ON THE PROCESS 3 for cooking details*
Airy Genoise Sponge Cake (Courtesy of The Spruce Eats-some changes by me)
- Preheat the oven to 350°F. Prep one or two 9-inch cake pans by buttering the bottom and sides and then dusting with flour, tapping out any excess. Line the bottom(s) with a circle of parchment paper cut to fit the pan. Bring a saucepan of water to a boil on the stovetop, then lower it to a simmer.
- In the bowl of a stand mixer, beat the eggs and stir in the sugar and vanilla until blended.
- Set the bowl over the saucepan to form a double boiler so that the bottom of the bowl is inside the pan but not touching the water. Stir the egg and sugar mixture over the pot until the mixture is warm (about 3 to 4 minutes).
- Place the warm mixture into a stand mixer bowl and beat with the whip attachment for 10 to 15 minutes or until the mixture is thick and light. If using a hand mixer, beat for 2 to 3 additional minutes. The eggs will triple in volume and change from yellow to nearly white in color. When you lift the whisk from the mixture, the batter should fall from it in a ribbon-like line and stay on top of the batter for a few seconds before sinking into it.
- Carefully fold in the cake flour until almost all the flour has disappeared.
- Carefully fold in the melted butter until completely combined. Don’t over-mix.
- Pour the batter into the prepared pan(s) immediately and transfer them to the oven.
- Bake for 20 to 25 minutes [See NOTES ON THE PROCESS 2 for details] or until a toothpick inserted into the center comes out clean (a crumb or two attached is OK)
- Cool the cakes for 10 minutes in the pan(s) on a wire rack. Loosen the edges by running a paring knife or small off-set spatula along the sides, turn the cakes out onto the racks, and cool for at least another 45 minutes or until completely cooled.
Almond Custard
- Have egg yolks ready in a medium mixing bowl, and set aside where it will be within reach.
- Using a whisk, combine the milk, sugar, almond and vanilla extract in a medium saucepan over medium heat on the stovetop. Allow milk to scald (heat to the point when tiny bubbles form around the edges of the pan). Whisk occasionally to prevent the milk from scorching on the bottom edges of the saucepan.
- Remove the pan from the heat.
- Mix about two tablespoons of the hot milk mixture into the egg yolks and whisk.
- Then, introduce the rest of the eggs into the milk mixture in a slow stream, whisking constantly.
- Pour back into the pan, and immediately return the pan to the heat, whisking gently until custard thickens (another two or three minutes). Do not allow it to boil.
- Remove the pan from the heat and stir in vanilla
- Pass it through a fine-mesh sieve into a different bowl to remove any egg-white strands or lumps in the custard.
- Once done, cover with plastic wrap (make sure the plastic wrap is touching the custard to ensure that no skin is formed onto the custard (Let sit for at least 2 hrs, but longer is better).
Clementine and Cinnamon Simple Syrup
- In a small saucepan, whisk the sugar and water over medium heat.
- Continue whisking until sugar is dissolved and the liquid comes to a simmer.
- Take off the heat, and let it cool.
- Pour into a small glass jar and seal tightly with a lid until ready to use.
Putting the Trifle Together
- Line the bottom of a large glass dish or individual glasses with the slices of the cake. If you are using one large bowl, use all the cake in one layer (this is what I did).
- Brush simple syrup onto the cake.
- Reserve a few of the fresh raspberries for decoration, then layer the remainder evenly over the cake slices. Again, in the large trifle, one thick layer is good.
- Pour the remaining simple syrup all over the raspberry layer.
- Pour the almond custard, in another nice thick layer over the raspberries.
- Finish with a thick layer of Whipped Cream, either spooned and spread over or, if you want to get fancy, pipe the whipped cream using a piping bag.
- Finish the tipsy laird trifle by decorating with reserved raspberries and a few toasted almond slivers.
Equipment

All-Clad D3 3-Ply Stainless Steel 3 Quart Sauce Pan
Buy Now →
All-Clad Stainless Steel Whisk
Buy Now →
KitchenAid® 7 Quart Bowl-Lift Stand Mixer, White
Buy Now →Notes
Substitutions
- 1:1 Ratio Store-Bought Pound Cake
- 1:1 Ratio Store-Bought Whipped Cream
- 1 ½ cups All-Purpose flour + 2 Tablespoons of Cornstarch
- 1:1 Ratio Ghee
NOTES ON THE PROCESS
- If you’ve never made whipped cream, check out How to Make Whipped Cream from Scratch. I go over every detail of how to make whipped cream and the 3 different stages your whipped cream can look like.
- Test at 20 minutes, if not done, add the extra 5.
- The time required for the recipe was determined by the duration of each item’s cooking process. To save time, I simultaneously baked the cake, prepared the custard, and made the simple syrup. After completion, I allowed everything to cool before assembling it after dinner. Following this approach, it should only take approximately 30 minutes to complete the entire process.
STORAGE
A tipsy laird trifle doesn’t keep well after being put together.
For the best results, plan for this to be prepared and served right away and finished within 24 hrs. If you want to make ahead, make the layering parts ahead, and then assemble right before serving.
If you make everything ahead of time, the individual items will keep well as follows:
- Airy Genoise Sponge Cake: Stored in an airtight food container in the refrigerator for up to one week.
- Almond Custard: Stored in an airtight food container in the refrigerator for up to three days
- Clementine and Cinnamon Simple Syrup: Stored in a small glass jar in the refrigerator for up to one month
- Whipped Cream: Stored in an airtight food container in the refrigerator for up to one week.
- Prep Time: 55 minutes
- Cook Time: 55 minutes
- Category: Dessert
- Method: Baking
- Cuisine: Scottish
Nutrition
- Calories: 417
- Sugar: 27
- Sodium: 86
- Fat: 30
- Saturated Fat: 17
- Carbohydrates: 28
- Fiber: 0.2
- Protein: 9
- Cholesterol: 336
Want to remember this post?
Pin it to your favorite Pinterest Board!
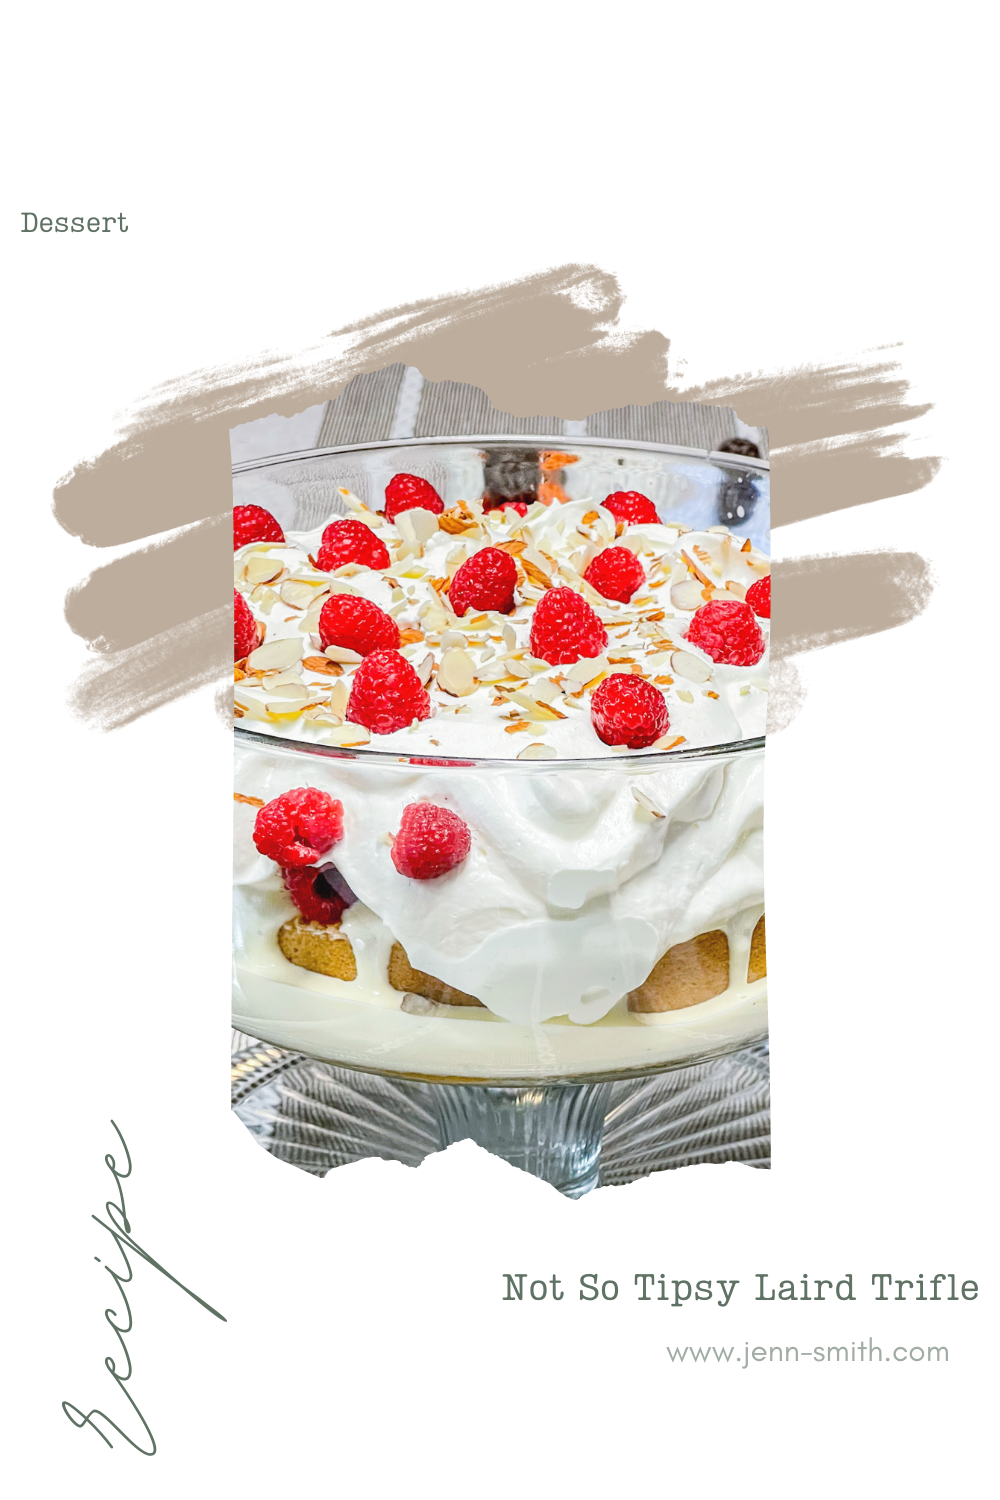
©Photo, Prop Styling, and Food Styling by Jenn Smith


Jenn, thank you so much for the Non-Alcoholic Tipsy Laird Trifle recipe. It is exactly what I needed for a Scottish theme party I am giving for a group of ladies who are teetotalers.
I’m so glad! This makes me so happy.