No-Bake, Low-Mess, Energy Snack Bites
This post may contain affiliate links. That means I may make a small commission on items purchased through links in this post at no extra cost to you! Affiliate Disclaimer
Happy New Year Friends! This is the time of the year when I know so many of you are ready to focus on health, wellness, and maybe even organization.
Well, today I want to share one of my family’s all-time favorite recipes. No-Bake, Low-Mess, Energy Snack Bites. I love that they are easy, have great ingredients, and are less messy to make than some of the others I’ve seen out there.
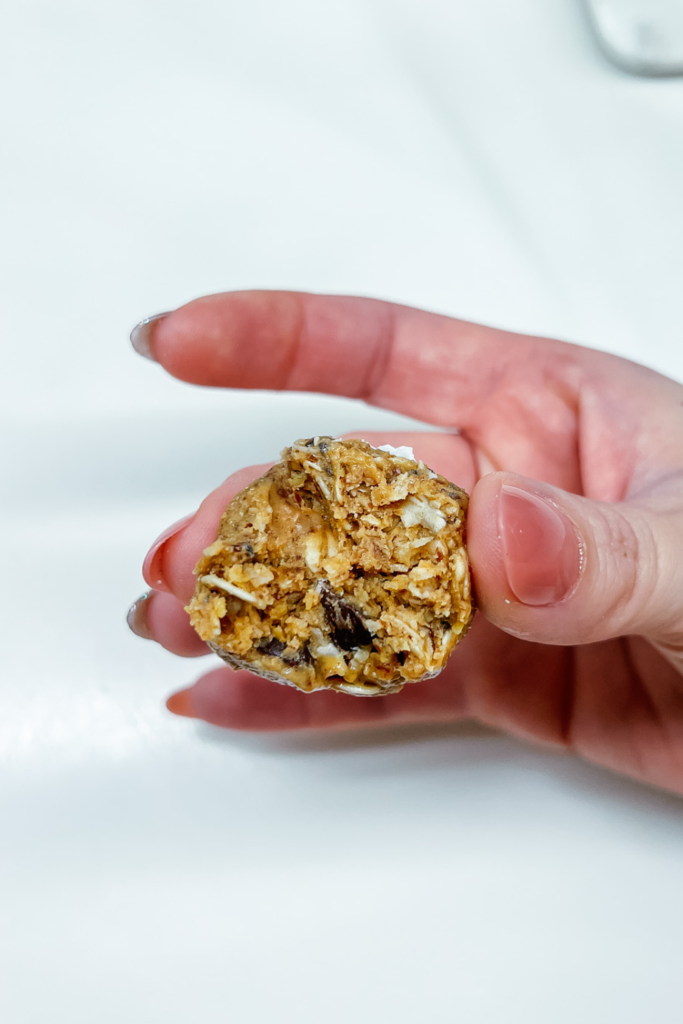
One thing I love about these little snack bites is they use simple pantry ingredients that I almost always have on hand (and even if you don’t you can find them in the grocery store readily available to fancy expensive specialty shops required). They are also super quick and easy to mix up. They roll into cute little balls (think truffles or cake pops). Besides all of that, they are the perfect make-ahead recipe to keep on hand for healthy snacking or even a quick breakfast on the go. Most importantly, they are delicious (I made these to taste very similar to one of my favorite candy bars)!
My Latest Food Videos
QUICK OVERVIEW
If you just want the Energy Snack Bites recipe itself and missed the “jump to recipe” button at the top, keep scrolling.
ABOUT THE INGREDIENTS
To make these no-bake, low-mess, energy snack bites recipe, you will need the following ingredients (substitutes are included as well):
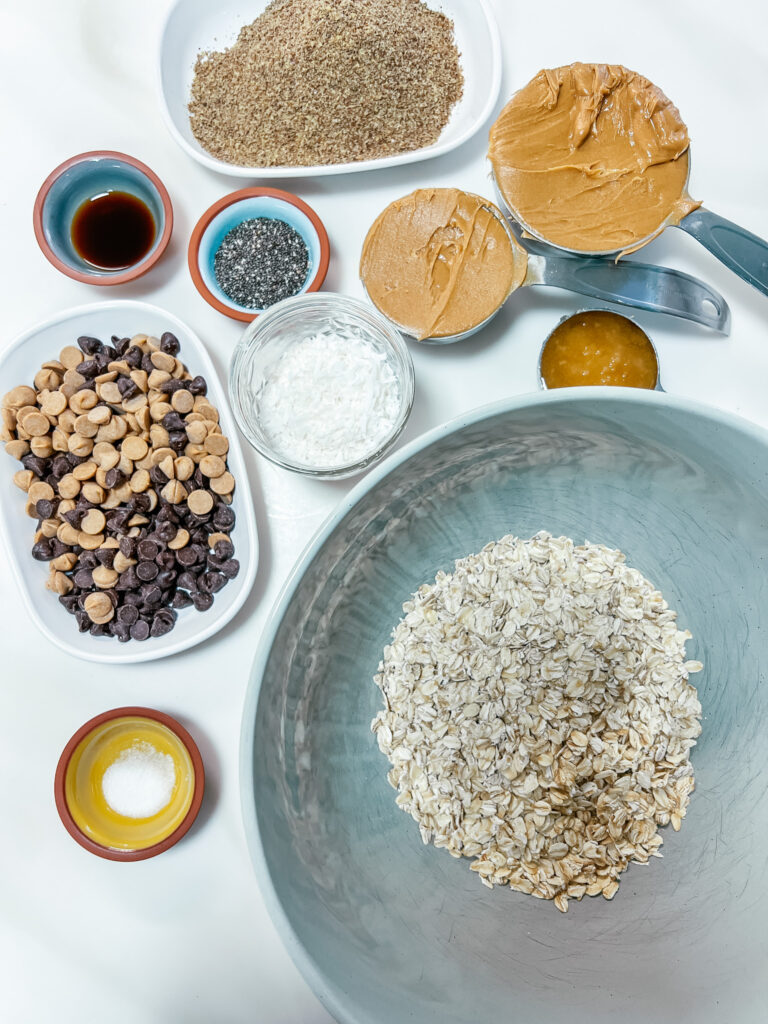
- Old-fashioned oats: Also called rolled oats – these will serve as the base ingredient and it has beta-glucan, which is an important component of dietary fiber and can help with lower cholesterol.
- Shredded coconut: Contains antioxidants and just adds a great additional flavor (toasting and cooling adds a whole other dimension). If you have a nut allergy (sometimes people with nut allergies can have a coconut allergy) you can just add more ground flax seed or old-fashioned oats.
- Creamy peanut butter: Both traditional and natural creamy peanut butter work in this recipe. You can also sub for Sunflower butter if nut butters are an issue.
- Ground flaxseed (AKA Flaxseed meal): This gives a little extra protein, fiber, and omega-3s to these snack bites, as well as helps bring everything together.
- Semisweet chocolate chips: I use standard-size chocolate chips, but minis are fine as well.
- Butterscotch Chips: If you don’t like butterscotch, please feel free to just double the amount of chocolate chips
- Honey: Adds just a touch of natural sweetness as well as helps to bind everything together. If you don’t like honey, you can use maple syrup.
- Vanilla extract: It just adds that extra somethin’ somethin’
- Chia seeds: Chia Seeds are high in fiber and also help to keep the balls together, but if they’re MIA in your cupboard, you can skip them, but I really recommend you grab them. They’re really are great.
HOW TO MAKE ENERGY BALLS:
To make these energy bites, simply…
Step One:
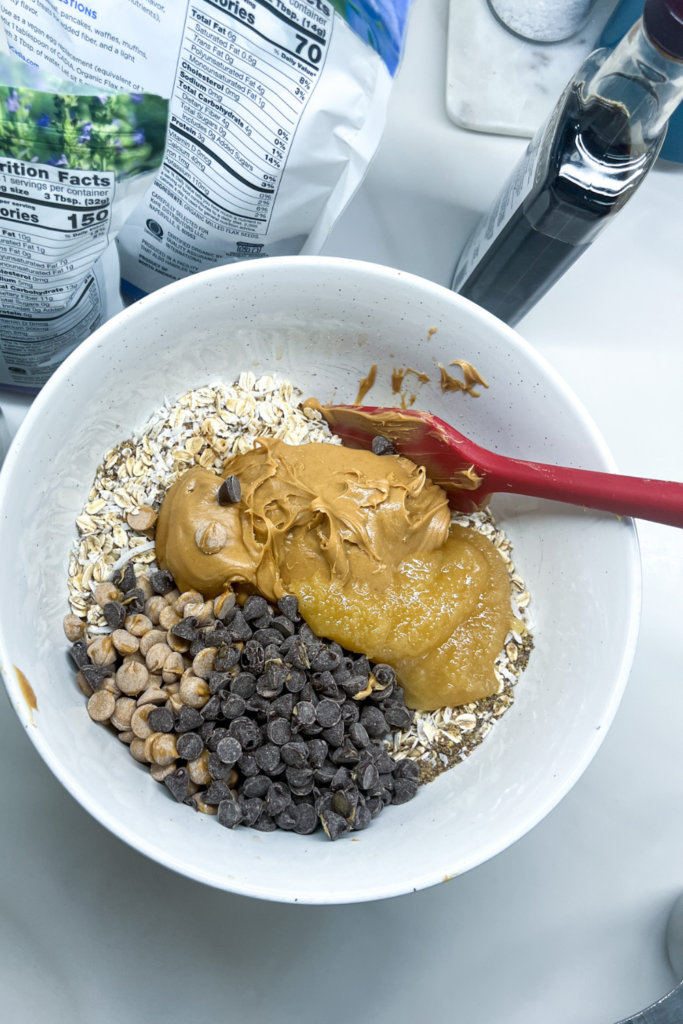
Stir everything together. Stir all ingredients together in a large mixing bowl until thoroughly combined.
Step Two:
Roll into balls. Scoop out 1 ½ Tablespoons of the mixture (I like to use a 1 ½ Tablespoon cookie scoop) Roll the mixture into balls. Warning, the mixture will be a little sticky, but not too bad.
JENN’S NOTE:
If you have trouble holding the energy snack bites together, I recommend adding a little more peanut butter to make the mixture a bit more sticky.
Step Three:
Chill. Chill the balls in the refrigerator for 1-2 hours, or in the freezer for 15-30 minutes. Just enough time that you can grab and eat them.
Step Four
Serve. Then enjoy immediately! Or refrigerate in a sealed container for up to 1 week, or freeze for up to 3 months.


STORAGE DETAILS
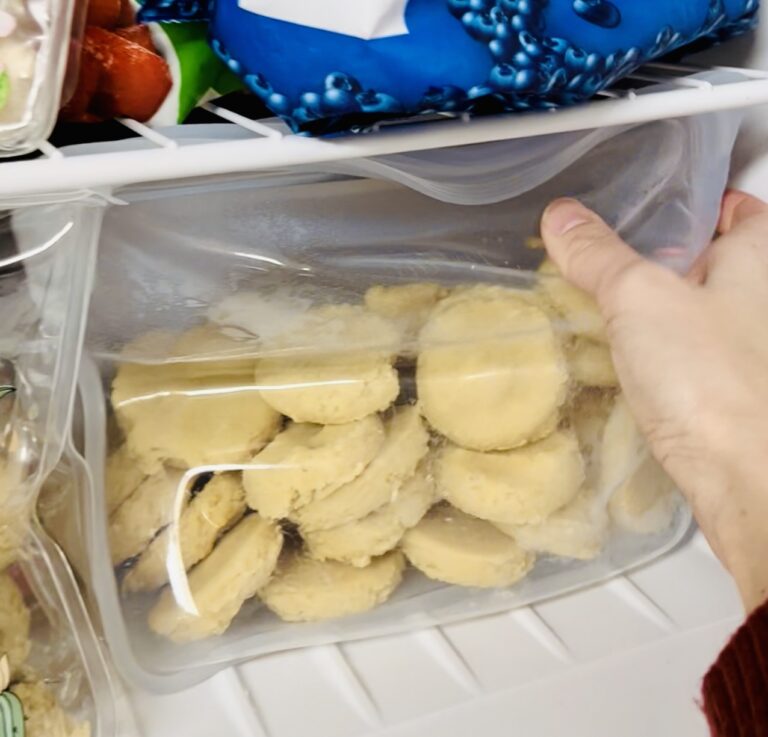
These Snack bites are the perfect Make-ahead for busy days. They store well in the fridge or can be frozen and then defrosted (on hot days, freeze them and bring them frozen to practice/school/work. They stay longer and are soft and edible by lunchtime).
- 5-7 days in the fridge
- up to 3 months in the freezer
COOKING WITH KIDS
DISCLOSURE: These tips are generalized, and meant to be suggestive. Everything I’m sharing I do with my kids, and they are all different even within my own five. So please take these as suggestions or ideas and if you think your child needs more or less help, then go with what you and your child are comfortable with. Ultimately, you know your kids, do what YOU think is best.
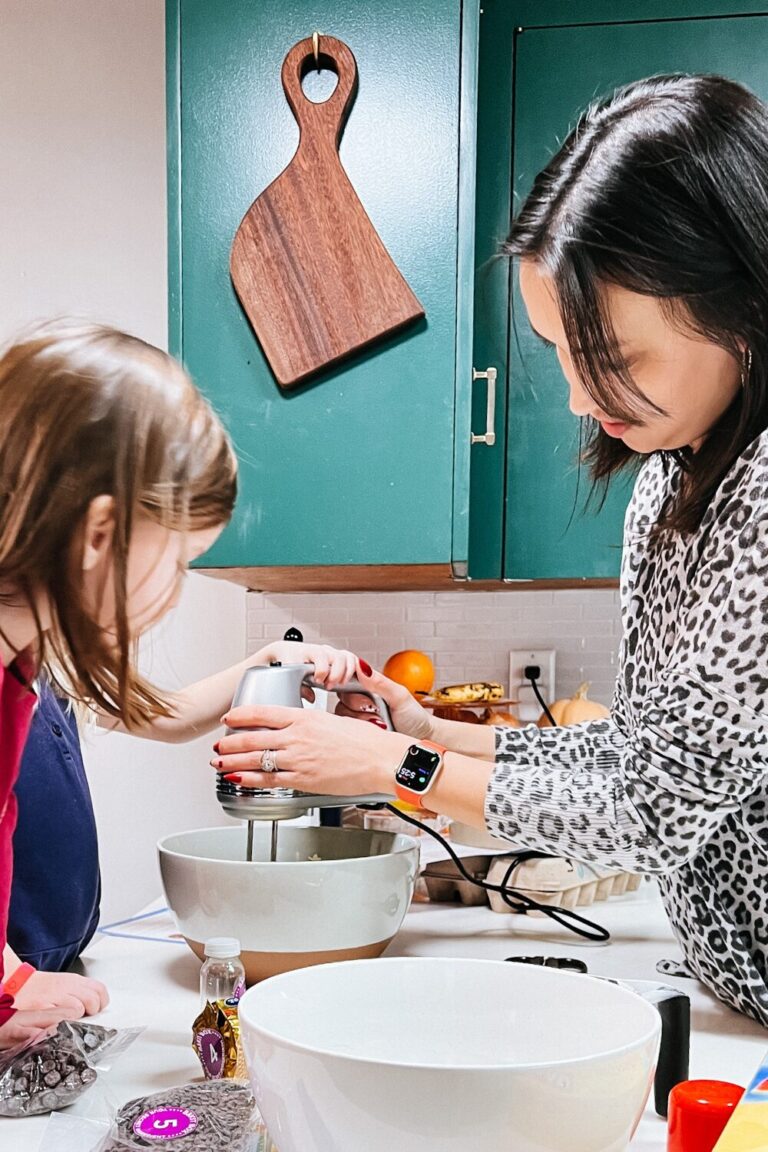
Since nothing is cooked for this recipe, it’s a great vehicle to have your kids help.
ENJOY AND SHARE!
Your feedback is important to me! Please let me know what you think of this No-Bake, Low-Mess, Everyday Energy Snack Bites recipe in the comments and rate this recipe using the star icons. Your input helps me improve future posts and the blog overall, and in the end, it all helps me to help YOU. Thank you!
Don’t forget to tag me on Instagram or Facebook, @jenngiamsmith #JennGiamSmith I will always share your posts on my stories and tag you! You can also share it on this post’s Pinterest Pin! Don’t forget to follow me on Pinterest for a steady stream of recipe (and other) inspiration!
It’s always wonderful to see loved ones coming together over delicious food.

Looking for more healthy snack inspiration? Check out my Versatile Snack Bars for a great option.
Print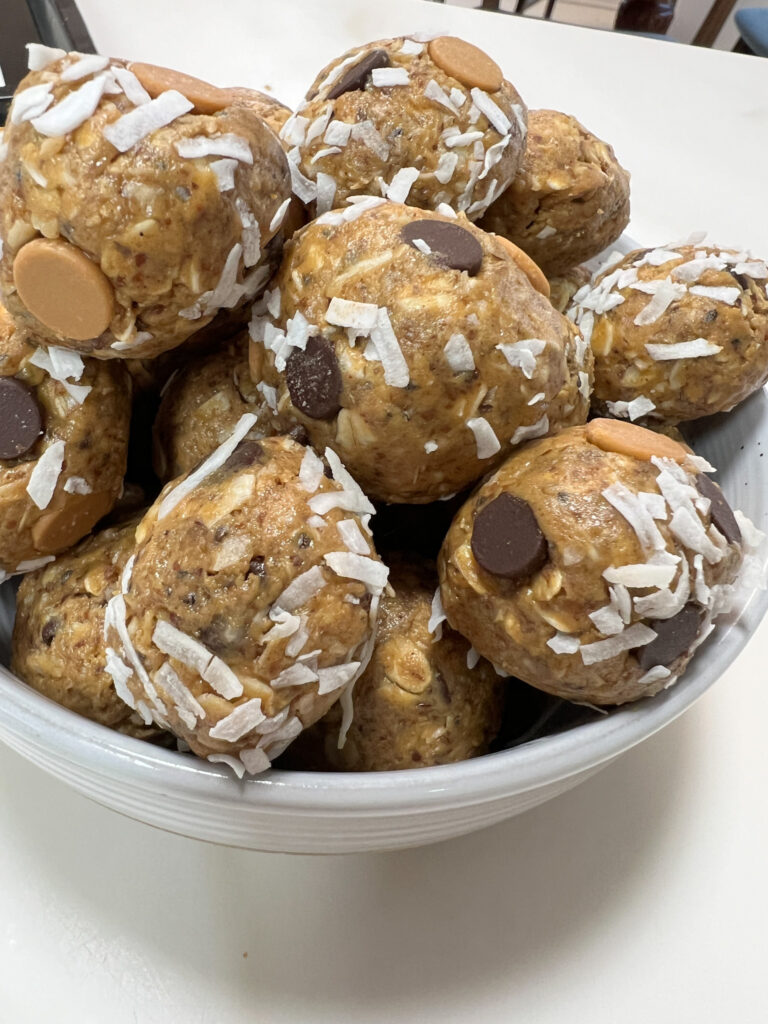
No-Bake, Low-Mess, Energy Snack Bites
This no-bake energy bites recipe is simple, low-mess, and delicious, featuring wholesome ingredients. It’s perfect for any time of the day!
- Total Time: 1 hour 10 minutes
- Yield: 30 bites 1x
Ingredients
- 1 1/2 cups creamy peanut butter (See Notes 2 for Details and Substitutions)
- 1/4 cup honey (See Notes 4 for Substitutions)
- 1 teaspoon vanilla extract
- 1/4 teaspoon sea salt
- 1 1/2 cups old-fashioned rolled oats
- 1 Tablespoon chia seeds (See Notes 6 for details)
- 1/2 cup flax seed meal (AKA ground flax seeds; See Notes 4 for details)
- 1/2 cup shredded coconut (unsweetened; See Notes 1 for Substitutions)
- 1/2 cup Semi-sweet chocolate chips (See Notes 3 for Substitutions)
- 1/2 cup butterscotch chips (See Notes 4 for Substitutions)
Instructions
- Stir all ingredients together in a large mixing bowl until thoroughly combined. When you first start mixing it will look like you have too much dry ingredients, but I promise it comes together in a nix stiff “cookie” mixture. *See notes 8 for troubleshooting
- Scoop out 1 ½ Tablespoons of the mixture (I like to use a 1 ½ Tablespoon cookie scoop).
- Roll the mixture into balls. Warning, the mixture will be a little sticky, but not too bad.
- Chill the balls in the refrigerator for 1-2 hours, or in the freezer for 15-30 minutes. Just enough time that you can grab and eat them.
- Then enjoy immediately! *see notes for Storage details
Equipment

Mora Ceramics Small Mixing Bowls Set of 2 – 2.5 & 1.6 Qt (Vanilla White)
Buy Now →
Stainless Steel Baking Sheet Set with Silicone Mats and Cooling Racks (Set of 9)
Buy Now →
ThermoWorks Hi-Temp Silicone Spatula
Buy Now →Notes
INGREDIENT DETAILS AND SUBSTITUTIONS
- Shredded coconut: Contains antioxidants and just adds a great additional flavor (toasting and cooling adds a whole other dimension). If you have a nut allergy (sometimes people with nut allergies can have a coconut allergy) you can just add more ground flax seed or old-fashioned oats.
- Creamy peanut butter: Both traditional and natural creamy peanut butter work in this recipe. You can also sub for Sunflower butter if nut butters are an issue.
- Semisweet chocolate chips: I use standard-size chocolate chips, but minis are fine as well.
- Butterscotch Chips: If you don’t like butterscotch, please feel free to just double the amount of chocolate chips
- Honey: Adds just a touch of natural sweetness as well as helps to bind everything together. If you don’t like honey, you can use maple syrup.
- Chia seeds: Chia Seeds are high in fiber and also help to keep the balls together, but if they’re MIA in your cupboard, you can skip them, but I really recommend you grab them. They’re really are great.
TROUBLESHOOTING
If you have trouble holding the energy snack bites together, I recommend adding a little more peanut butter to make the mixture a bit more sticky.
STORAGE
Refrigerate in a sealed container for up to 1 week, or freeze for up to 3 months (honestly, I put mine in a bowl in the fridge for easy grabbing because everyone in my house eats them in about 2 to 3 days).
- Prep Time: 10 minutes
- Chilling Time: 1 hour
- Cook Time: n/a
- Category: Snack
- Method: one-bowl
- Cuisine: American
WANT TO REMEMBER THIS POST?
Pin it to your favorite Pinterest Board!


©Photo, Prop Styling, and Food Styling by Jenn Smith
This Blog Post is ©2024 Jenn Giam Smith™; Jenn Smith, LLC; Always Jenn Smith (FKA Smith Country, LLC) See below for details
Please Be Respectful
All rights reserved. You may NOT sell, trade, share or redistribute this recipe in any way or use any of my photographs for your site. If you are linking back to this post to a list of recipes, giving credit for the recipe to myself and my site, you may use ONE photo. You must site me and my blog as the creators of the recipe and give credit for the photo. ©2024 Always Jenn Smith; Jenn Smith, LLC
Jenn Smith of Always Jenn Smith™; Jenn Smith, LLC is a participant in the Amazon Services LLC Associates Program, an affiliate advertising program designed to provide a means for sites to earn advertising fees by advertising and linking to amazon.com. As well as the Apple affiliate program now called the Performance Partners Program.
This site displays third-party ads and contains affiliate links, See terms and conditions for ALL affiliates.
Feel free to comment below or e-mail me directly if you have any questions.
Thank you for visiting!

