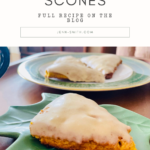
Large Batch Pumpkin Scones with Maple Glaze
This post may contain affiliate links. That means I may make a small commission on items purchased through links in this post at no extra cost to you! Affiliate Disclaimer

I know, I know… I can hear some of you now, asking “Really Jenn? Another Pumpkin Recipe?” To that, I say yes! Yes, another Pumpkin recipe. “Why?”, you might ask. Well, I ask you… Why not? I mean, why the pumpkin hate? Really… most people associate “pumpkin” with pumpkin spice and that isn’t even really the taste of pumpkin. Instead, it’s the warming, yummy spices, blended together to a perfect fall-like “mood” of flavor. I mean, how can you hate that???
So, I’m here again, sharing my version of Pumpkin Scones, and to add a little more fall to it, it comes with a maple glaze. Trust me when I say, they are AMAZING!!! This recipe was created in a moment of one of my happy baking moods. I had just done a bunch of chocolate chip scones for an event for my husband and everyone had raved about them. Enter… people wanting more baked goods from me.
I had been asked to provide a breakfast item for the college students at our church and was in a fall inspiration that day, but when working with canned pumpkin puree, I tend to find many recipes that don’t offer the use of the entire 15oz. So here I am stuck with pumpkin puree that I don’t necessarily need for anything else. Gah! Enter… Large Batch Pumpkin Scone Recipe!!!
Now, because I use the entire can, this makes a whopping 36 “regular” size scones! Hence this potluck-friendly recipe.

Some Notes for Success
Scones are notoriously “tricky”, but they don’t have to be. I have found a few things that will help to make your scones easier to make and yield perfect scones every time.
- Mix your “wet ingredients together” separately from your dry ones. By “wet” I mean the heavy cream, eggs, pumpkin, brown sugar, and vanilla extract.
- Let your food processor be your best friend for this. It will help you disperse the butter into the flour creating that flaky almost biscuit-like scone you look for.
- The butter needs to be COLD. I usually cut it and put it in the freezer.
- Do not use a stand or hand mixer to mix together the wet and dry ingredients. I know it’s tempting, but your hands and a spatula will be your best tools for this job. Trust me, anything else will create too much gluten from the flour and make it tough.


As you can see, I have a 14-cup food processor and it’s pretty full. So if you have a smaller one, you will want to do this in batches (just use a large mixing bowl to hold the finished flour mixture)
Forming your scones
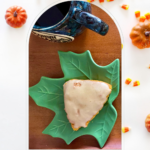
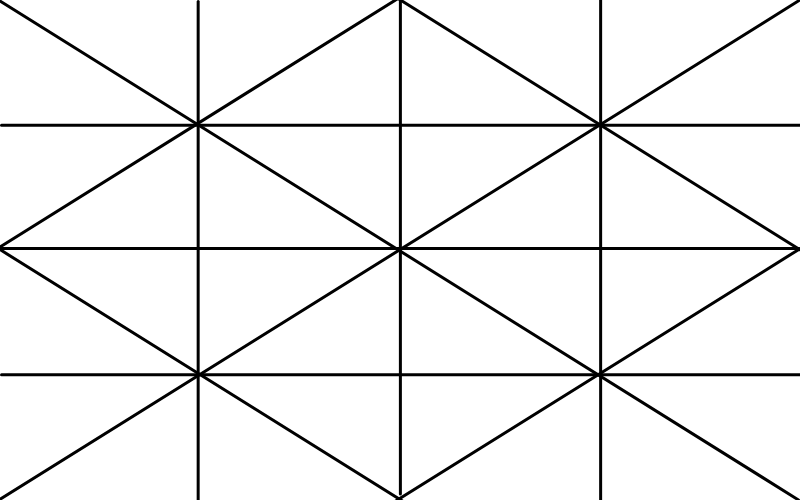
Continue working the dough into a “ball” in the bowl, then transfer it onto a floured work surface. Gently press into a rectangular shape (about a 1/2 an inch in height) and, with a pastry cutter (dough scraper), cut into equal size wedges/triangles (below is a diagram I created to give you an idea of how to cut the scones). To make smaller scones, cut the triangles smaller
Don’t want to make triangles?
Continue working the dough into a “ball” in the bowl, then roll the “ball” onto a floured surface and split the dough into 36 even rounds. Be careful to form them into 2″ tall discs gently.

ENJOY and Share!
Pour a glass of milk, a mug of hot apple cider, a cup of tea, or a cup of coffee, and enjoy!
Please leave your feedback and rate this recipe using the star icons on the recipe card (note that feedback is required to count your star rating). Your input would help me improve this and future recipes. Thank you!
Don’t forget to tag me on Instagram or Facebook, @jenngiamsmith #JennGiamSmith I will always share your posts on my stories and tag you! You can also share it on this post’s Pinterest Pin! Don’t forget to follow me on Pinterest for a steady stream of recipe (and other) inspiration!
It’s always wonderful to see loved ones coming together over delicious food.
Need More Fall Treats to Enjoy?
Fall doesn’t have to end with scones! Try some of these recipes to keep your house smelling amazing.

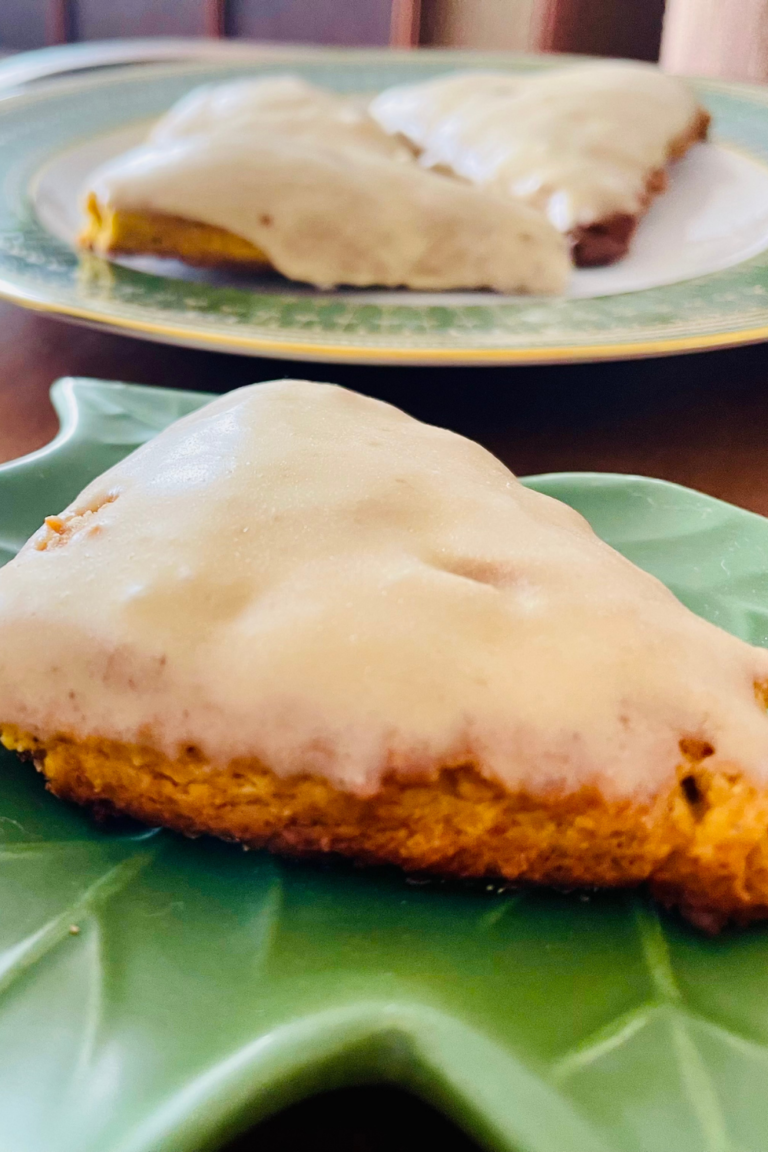
Large Batch Pumpkin Scones with a Maple Glaze
Looking for a delicious fall recipe for brunches or potlucks? Try out these amazing Pumpkin Scones with maple glaze that are sure to impress. What’s more, this recipe uses an entire 15oz can of pumpkin, making it super easy to whip up.
- Total Time: 1 hour
- Yield: 36 large scones 1x
Ingredients
Pumpkin Scones
- 7 cups all-purpose flour
- 3 tablespoons baking powder
- 1 tablespoon ground cinnamon
- 1 1/2 teaspoons nutmeg
- 1 1/2 teaspoon ginger
- 1 1/2 teaspoon cloves
- 1 1/2 teaspoon salt
- 1 3/4 cup unsalted butter (frozen cubes)
- 1/2 cup heavy cream
- 4 large egg
- 1 [15oz can] pumpkin puree
- 1 3/4 cup light brown sugar
- 1 tablespoon pure vanilla extract
Maple Syrup Glaze
- 4 Tablespoons unsalted butter
- 3/4 cup pure maple syrup
- 2 cup confectioners’ (powdered) sugar (sifted)
- pinch salt (to taste)
Instructions
Scones
- First, preheat the oven to 400°F (204°C). Adjust the baking rack to the middle-low position then Line 2 – 3 large baking sheets with parchment paper or silicone baking mat(s). Set aside.
- I also like to cube the butter and place it in the freezer while I work on the rest.
- Whisk 1/2 cup heavy cream, the eggs, pumpkin, brown sugar, and vanilla extract together in a small bowl and set aside.
- Pulse the flour, baking powder, cinnamon, nutmeg, ginger, cloves, and salt together in a food processor.
- Add the frozen butter cubes, a little at a time. Pulsing with each addition of butter. You’ll want it to be sort of a “moist” sand texture. You should be able to squeeze the flour mixture and sticks together. *See notes¹ for details on food processors
- Make a well in the middle of the flour mixture, add the pumpkin mixture, then fold together, with floured hands, until everything appears moistened and “incorporated”.
- Continue working the dough into a “ball” in the bowl, then transfer it onto a floured work surface. Press into a rectangular shape (about a 1/2 an inch in height) and, with a very sharp knife/pastry cutter (dough scraper), cut into equal size wedges/triangles (see the diagram I created on my blog post to give you an idea of how to cute the scones). To make smaller scones, simply cut the triangles smaller *See notes² for a different option if you don’t want to make triangles.
- Place scones at least 2 inches apart on the prepared baking sheet(s).
- Using a pastry brush, brush the scones with the remaining heavy cream.
- Bake the larger scones for 20-25 minutes or until lightly browned. If you made smaller scones, bake for 18-20 minutes or until lightly browned. Remove from the oven and allow to cool for a few minutes. While you wait, prepare the glaze.
Glaze
- Melt the butter and whisk it into maple syrup. Then whisk in the sifted confectioners’ sugar. Taste and add a pinch of salt (or more if desired). Drizzle over warm scones or dip the top of the scones to get a nice covered scone
Notes
¹ I have a 14-cup food processor and it’s pretty full. So if you have a smaller one, you will want to do this in batches (just use a large mixing bowl to hold the finished flour mixture)
² Continue working the dough into a “ball” in the bowl, then roll the “ball” onto a floured surface and split the dough into 36 even rounds. Be careful to gently form them into 2″ tall discs.
- Prep Time: 20 minutes
- Cook Time: 25 minutes
- Category: Breakfast
- Cuisine: American
Nutrition
- Calories: 258
- Sugar: 15
- Sodium: 216
- Fat: 12
- Saturated Fat: 7
- Carbohydrates: 41
- Fiber: 1
- Protein: 3
- Cholesterol: 49
Nutritional Facts:
These numbers are based on the serving size stated. All are estimates and you should not rely on this information as a substitute for, nor does it replace professional medical advice, diagnosis, or treatment. If you have any concerns or questions about your health, you should always consult with a physician or other healthcare professional.
Want to remember this post? Pin it to your favorite Pinterest Board!


©Photo, Prop Styling, and Food Styling by Jenn Smith