Homemade Sloppy Joe
This homemade sloppy joe recipe offers a quick and delicious solution. It requires minimal pantry ingredients, can be prepared in under 40 minutes, and is freezer-friendly.
This post may contain affiliate links. That means I may make a small commission on items purchased through links in this post at no extra cost to you! Affiliate Disclaimer
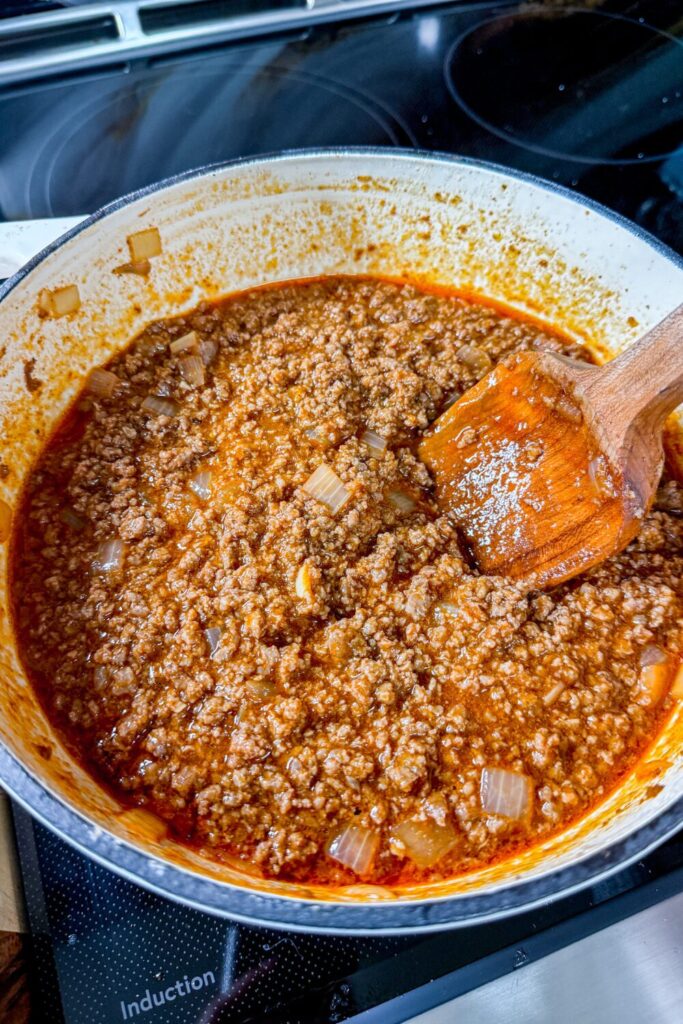
The holidays may be in full swing, in our house however, it’s just plain chaos. Figure skating, robotics, church volunteering, holiday concerts, doctor appointments, ahhh!!!! This time of year, I’m all in with quick, easy, or meal planner meals that I can make or heat up quickly. This classic homemade sloppy joe recipe is perfect for these busy days and is a delicious upgrade to the ones we had as a kid (you know what I’m talking about, the ones from a can 😒).
This is a much more classic version of my first one, BBQ Sloppy Joe. Both, however, are amazing, so feel free to give both a try and see which one you like better.
MY LATEST FOOD VIDEOS
WHAT MAKES THIS THE BEST RECIPE?
Four reasons to love this Homemade Sloppy Joe recipe:
- The ingredients are pantry-friendly. No need to worry about if you have enough veg. I wanted to make sure you could use bare minimum pantry ingredients. (Yes, there is fresh onion and garlic, but don’t worry, I offer substitution notes for both just in case you realize that onion on your counter is bad.
- It’s freezer friendly see Storage for all the details.
- It makes up quickly and easily. I’m serious. Under 40 minutes.
- This all comes together in one pot!
- You can keep it warm in a slow cooker for an easy dinner!
SLOPPY JOE BASICS
A sloppy joe at its core, is a sandwich made with ground beef, a sweet and tangy sauce, and served on a hamburger bun. It’s messy to eat (hence the name), and is for sure a classic from my childhood (and probably most millenial’s). Below is the gist of the recipe, but scroll down to see the recipe card and get the full information on ingredients and quantities.
ABOUT THE INGREDIENTS
Ground beef is the main bulk of this meal. So make sure it’s good stuff (that doesn’t mean break the bank and use ground sirloin). Just make sure it’s a lean ground beef (85% or 90%). I just find it works best for Sloppy Joes. Don’t worry, worry we’re making a sauce so we make it on the leaner side.
yellow onion has a bold flavor which is what I want in a sloppy joe. so much goes on in this recipe that onion needs to be there to add that extra. That being said, if all you have in your pantry is a red or white onion, us it. It’s not as strong, but still does the job.
fresh garlic adds flavor
Worcestershire sauce adds savory umami, tanginess, and a slight sweetness.
fish sauce adds savory umami and salt.
JENN’S NOTES:
Fish sauce has a very distinct smell, for some it may not be pleasant, but it tastes AMAZING in dishes and I love adding it to my dishes (especially pasta).
You can read more on that in my How to Use Fish Sauce Blog Post.
dark brown sugar adds sweetness and a depth from the molasses in the brown sugar.
smoked paprika adds a smoky, woodsy flavor with a hint of sweetness
tomato sauce helps with sauce and adds an acid, and slight tang.
tomato paste thickens and adds a concentrated, savory flavor and more acid.
beef bone broth adds savory depth and makes it more saucey.
HOW TO MAKE IT
This recipe is very simple, but it is about layering flavor. So, prepping ahead will help make things go a little faster and smoother.
- In a large skillet on medium-high heat, Cook the meat until fully cooked and not pink. Depending on the fat content, you may need to drain some of the beef fat. You only need about 2 Tablespoons.
- Add the onions and continue cooking until the onions are translucent.
- Next, Add the garlic and continue cooking until the garlic is fragrant (about 2 minutes).
- Add the brown sugar, tomato paste, Worcestershire sauce, smoked paprika, and fish sauce. Stir until completely combined.
- Finally, add tomato sauce and beef bone broth and continue cooking until combined and bubbly.
- Enjoy on a burger bun (or other bread of your choice)!
STORAGE
Sloppy Joe’s are a great make-ahead meal! Cook ahead of time and put into a slow cooker on medium-low and have dinner ready to go when you geet home!
Or use it as part of a meal planner meal! Split this into the right proportions for your family (halves or thirds), then freeze in freezer-safe bags for multiple meals!
Check out my post on Free Printable: Grocery List & Menu for easy meal planning.
wondering how long it will last?
- Refrigerate in a storage bag/container for 3 to 5 days.
- Freeze in a freezer-safe bag, for up to 4 months in the freezer.

Ello Duraglass 3.4 Cup, 3 Pack Set
Buy Now →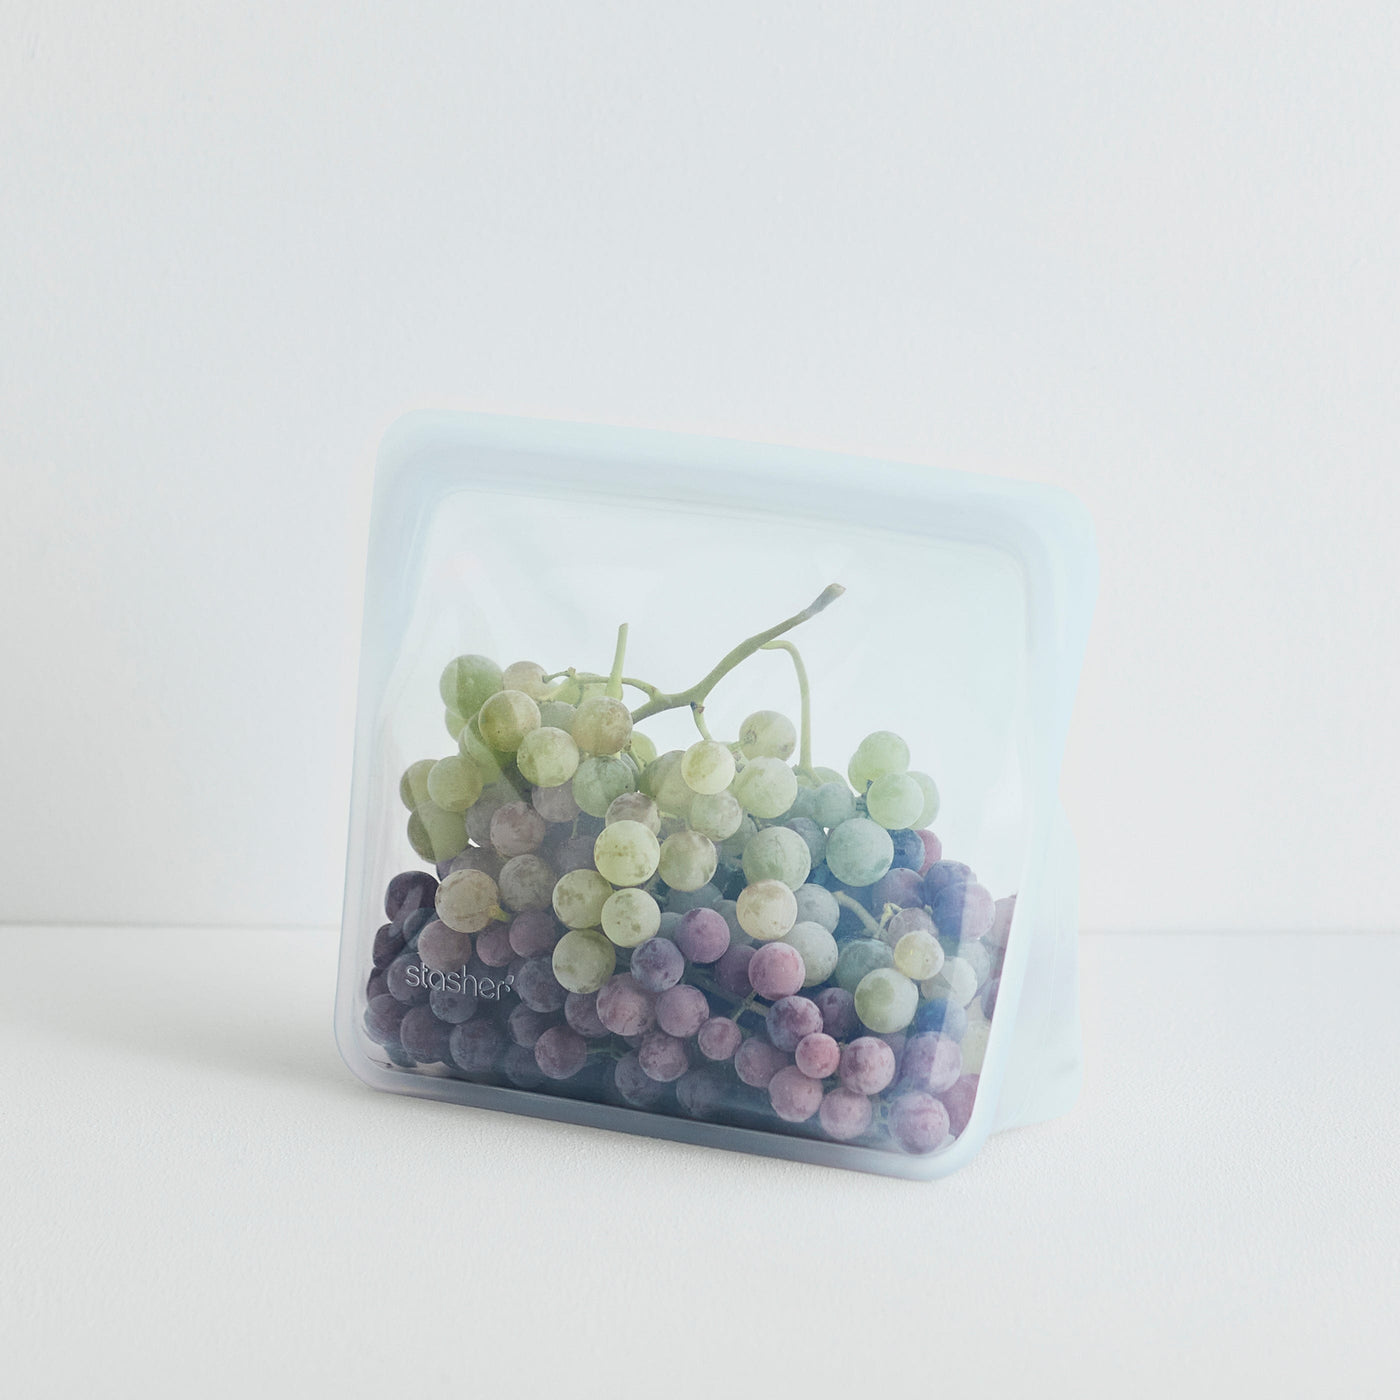 Buy Now →
 COOKING WITH KIDS
DISCLOSURE: These tips are generalized, and meant to be suggestive. Everything I’m sharing I do with my kids, and they are all different even within my own five. So please take these as suggestions or ideas and if you think your child needs more or less help, then go with what you and your child are comfortable with. Ultimately, you know your kids, do what YOU think is best.
NEED IDEAS FOR SIDES?
Try any of these for a perfect addition to your Sloppy Joe!
- Summertime Pasta Salad
- Simple Coleslaw
- Patatas Bravas with Remoulade Sauce
- Smoked Gouda and Bacon Mac and Cheese
- Healthy-ish Stovetop Mac and Cheese
ENJOY AND SHARE!
Your feedback is important to me! Please let me know what you think of this recipe in the comments and rate this recipe using the star icons. Your input helps me improve future posts and the blog overall, and in the end, it all helps me to help YOU. Thank you!
Don’t forget to tag me on Instagram or Facebook, @jenngiamsmith #JennGiamSmith I will always share your posts on my stories and tag you! You can also share it on this post’s Pinterest Pin! Don’t forget to follow me on Pinterest for a steady stream of recipe (and other) inspiration!
It’s always wonderful to see loved ones coming together over delicious food.

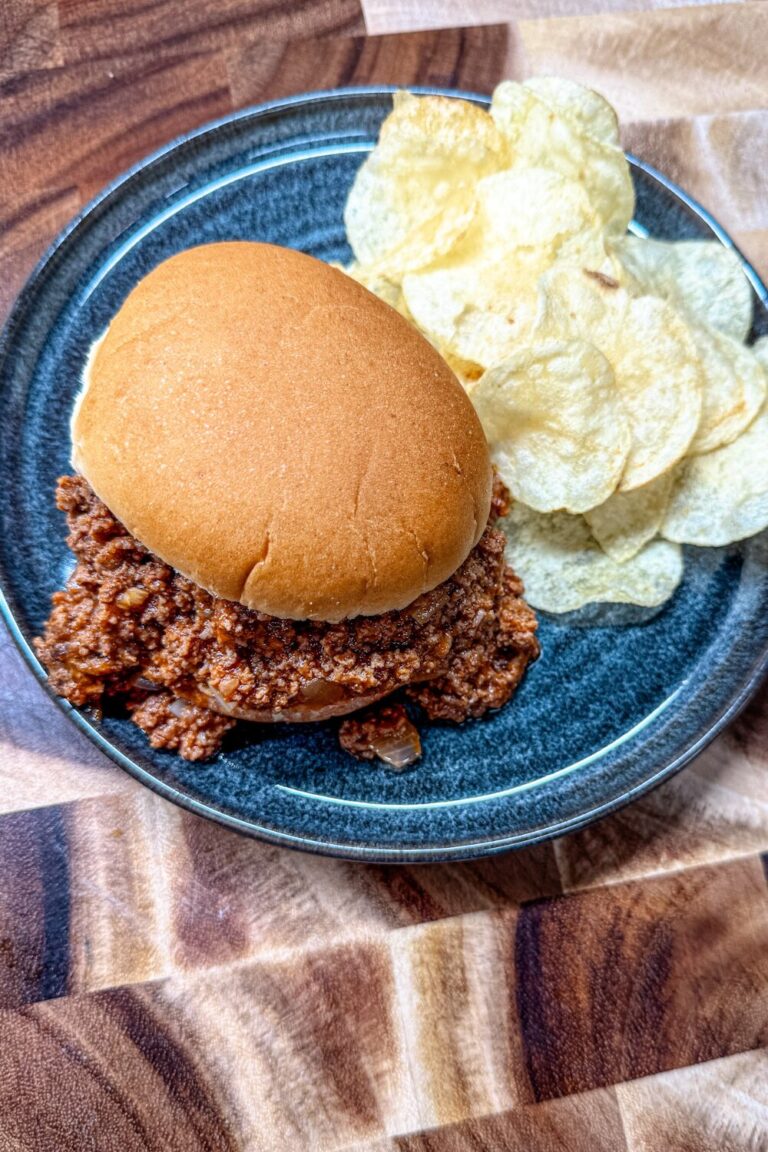
Homemade Sloppy Joe
This classic dish combines ground beef with flavorful sauces and can be enjoyed with family, making meal planning easier during busy times. It yields ten (3 oz) sandwiches
- Total Time: 35 minutes
- Yield: 10 sandwiches 1x
Ingredients
- 2lbs of Ground beef
- 1/2 of a yellow onion chopped (see NOTES 1 for substitutions)
- 2 cloves of garlic (minced) (see NOTES 2 for substitutions)
- 1 Tablespoon Worcestershire sauce
- 1 Tablespoon fish sauce (see NOTES 3 for substitutions)
- 3 Tablespoons dark brown sugar lightly packed
- 1 1/2 teaspoons smoked paprika
- 1 – 8 oz can of tomato sauce
- 1 Tablespoon tomato paste
- 1 Tablespoon beef bone broth (see NOTES 4 for substitutions)
- Salt (to taste)
- black pepper (taste)
- 10 burger buns (or bread of your choice)
Instructions
- In a large skillet on medium-high heat, Cook the meat until fully cooked and not pink. Depending on the fat content, you may need to drain some of the beef fat. You only need about 2 Tablespoons.
- Add the onions and continue cooking until the onions are translucent.
- Next, Add the garlic and continue cooking until the garlic is fragrant (about 2 minutes).
- Add the brown sugar, tomato paste, Worcestershire sauce, smoked paprika, and fish sauce. Stir until completely combined.
- Finally, add tomato sauce and beef bone broth and continue cooking until combined and bubbly.
- Enjoy on a burger bun (or other bread of your choice)!
Equipment

KitchenAid Universal Bamboo Short Turner, One size, Wood
Buy Now →
Lodge 3.6 Quart Enameled Cast Iron Oval Casserole With Lid
Buy Now →Notes
Substitutions
- any ½ of an onion can be use or conversely, 1 tablespoon of onion powder
- ¼ teaspoon garlic powder
- 1:1 ratio Worcestershire Sauce (totaling 2 tablespoons of Worcestershire Sauce instead of 1 tablespoon of each)
- 1:1 ratio chicken broth/stock, beef broth/bone broth/stock, vegetable broth/stock (Use Code: JENNSMITH15 to 15% off at Gourmend)
- Prep Time: 10 minutes
- Cook Time: 20 minutes
- Category: dinner, lunch, sandwich
- Method: One-Pot
- Cuisine: American
Nutrition
- Serving Size: 3oz of ground beef
WANT TO REMEMBER THIS POST?
Pin it to your favorite Pinterest Board!


©Photo, Prop Styling, and Food Styling by Jenn Smith


