DIY Spice Jars
Say goodbye to that chaotic spice drawer and get ready to transform it into an organized masterpiece! Boost your kitchen game and elevate your cooking with this fun and easy DIY spice jar tutorial! And that’s not all—enjoy FREE sticker printables featuring a fabulous selection of 36 different spices, herbs, and seasoning labels. Get excited to spice up your cooking and bring order to your culinary world!
This post may contain affiliate links. That means I may make a small commission on items purchased through links in this post at no extra cost to you! Affiliate Disclaimer

Now that your oils and vinegars are all beautifully organized thanks to my DIY Oil and Vinegar Dispenser post, it’s time to take things to the next level! If you haven’t jumped on that project yet, be sure to check it out for some amazing inspiration! Now, let’s dive into the world of spices! Today, I’m thrilled to share how I transformed my chaotic spice drawer into a charmingly organized space using adorable small mason jars and some fantastic free sticker printables I created just for you! Get ready to spice up your kitchen like never before!
Why make spice jars?
I don’t know about you, but with the inconsistency in container sizes and the fact that my measuring spoons often don’t fit, I needed more uniformity in my spice drawer. Before I settled on my current solution, I scoured the internet for quick and easy jars and labels. However, I faced two main problems: I couldn’t find jars that I really liked, and not all my spices had corresponding labels (hello, Chinese five spice!).
Previously, I printed some free generic lid inserts and used small mason jars for a few spices that were listed. Unfortunately, the design had a farmhouse style, and still, not all my spices were included in the provided labels.
While working on my oil and vinegar bottles, I decided to create a cohesive look by making my spice jars match the bottles.

Here’s what you’ll need:
Below is a basic list that includes an easy “Shop the Post” section. I encourage you to find some beautiful old bottles and upcycle them instead.
- Clean mason jars: I used 4oz screw-top jars, but you could use flip-lid jars as well.
- Labels: I used circle labels, but you could also print on paper if you use the lids with the rims
- Printer: To print your free labels
Shop the Post
 Buy Now →
Le Parfait Wide Mouth 350ml (12oz) French Glass Jar w/Airtight (Pack of 4)
Buy Now →
The Process
1. Clean Everything
The first thing you’ll need to do is clean your jars and lids. I really want to emphasize the importance that whether you choose to purchase new jars or reuse old ones, you should always clean them thoroughly beforehand. Even brand-new jars can have dust and other particles. So a good cleaning and thorough drying are essential to ensure they are safe for use and your spices and herbs stay their best quality possible.
2. Put the Label on
Next, carefully place the label on the lid or top. When applying a label to a bottle, begin by positioning it gently at the center of the lid/top. Start pressing down from the center and work your way outward to minimize the risk of creating bubbles or creases in the label. This technique ensures a smooth and professional-looking application.
3. Fill the jars
Carefully fill your jars with the spices or herbs you have. Try to make sure the size of the herbs/spice you buy fit the jar size so not to have too much and ensure the best quality.
4. Tighten with a lid
Put the lid (with the correct label) on the jar and tighten. Continue until you have all your jars done!
The Free Labels
The moment you’ve all been waiting for—the FREE labels! 🎉 Click below, and I’ll send them straight into your inbox!
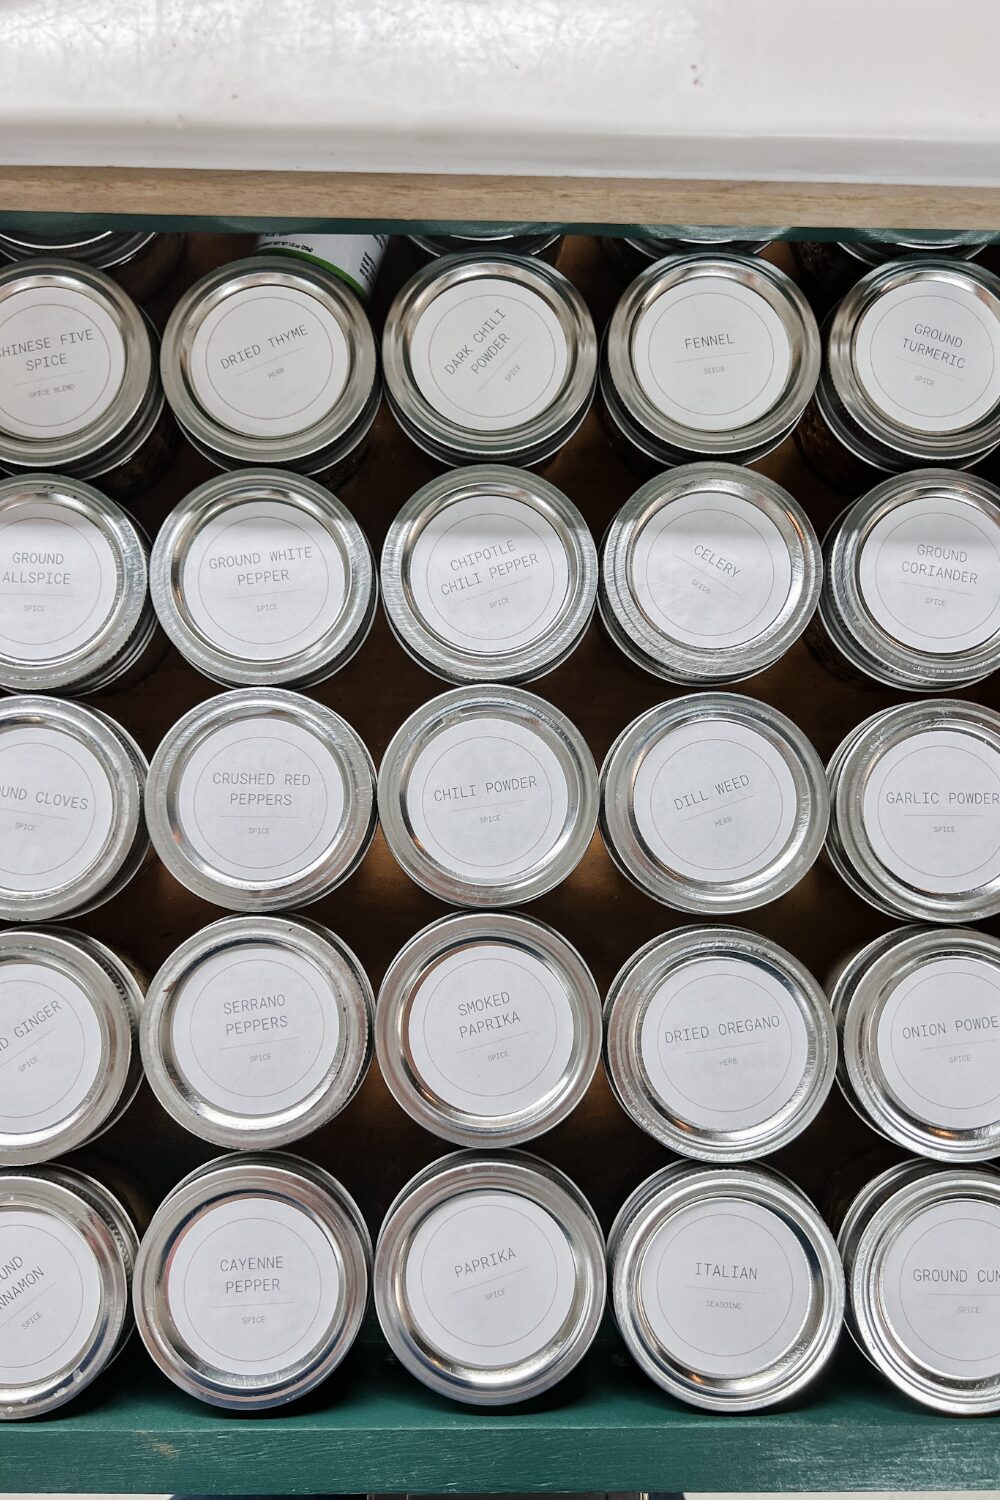
The printable features 36 labels of spices, herbs, and seasonings including…
- Dill Weed
- Italian Seasoning
- Ground Cumin
- Ground Cloves
- Ground ginger
- Chinese Five Spice
- Chipotle Chili Pepper
- and more!

Ready to try these bad boys out? Try these recipes:
Want to remember this post?
Pin it to your favorite Pinterest Board!


©Photo, and Prop Styling by Jenn Smith