Bread Machine French Baguette
Master the art of baking baguettes at home. Dive into the exquisite flavors and textures of freshly baked, homemade French bread.
This post may contain affiliate links, which means that I make a small commission off items you purchase at no additional cost to you. Please read my Affiliate Disclosure
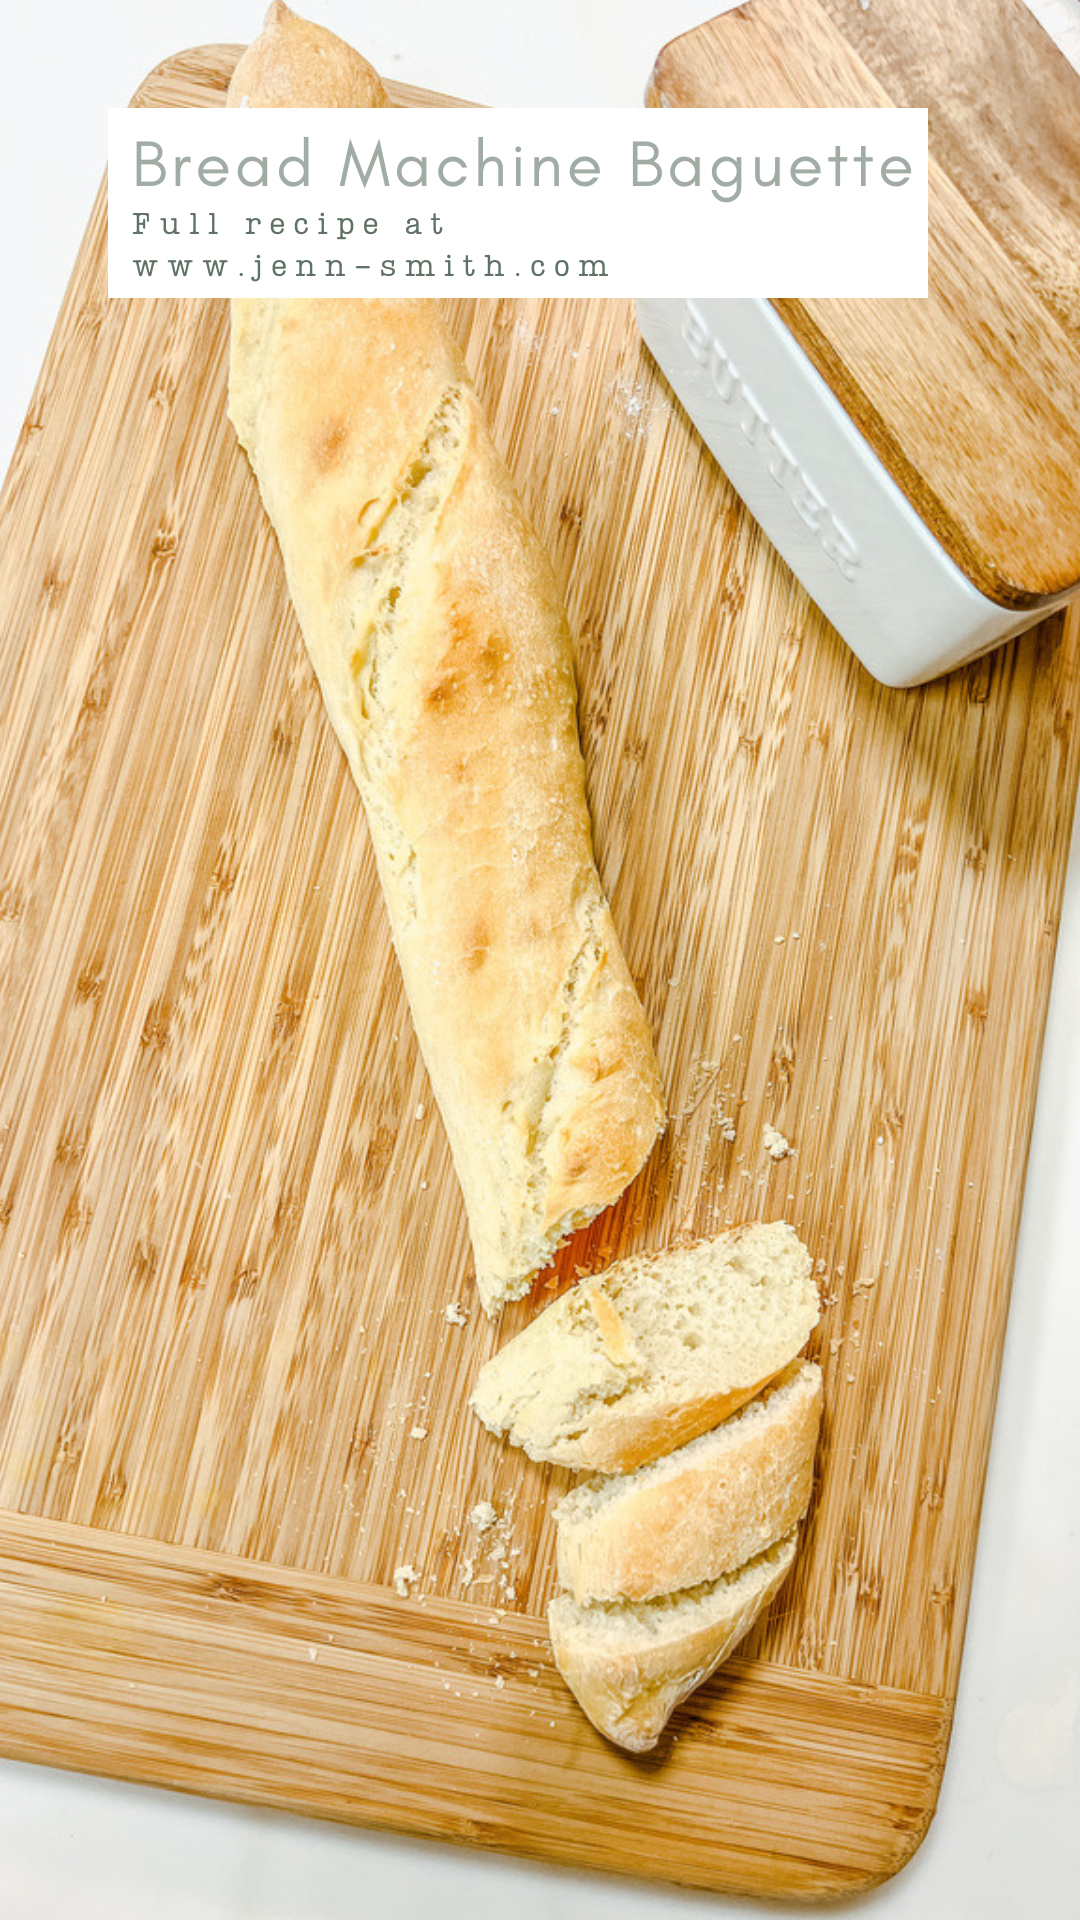
Ahhh, the homemade baguette. It is the ultimate bread-making experience. There is nothing like the smell and taste of a freshly baked French baguette. Crusty and beautifully colored on the outside, buttery soft and chewy on the inside, Serve it with butter, olive oil, or with your favorite soup. It’s a perfect way to say “I love you” to you anyone (including yourself).
Even with using the bread machine, the dough takes a little time to make, but trust me when I say it’s worth every minute once you’re enjoying that warm slice with some melty butter.
MY LATEST FOOD VIDEOS
MY VERSION
The perfect baguette is crispy on the outside, and perfectly chewy on the inside. It has a classicly simple flavor. Don’t worry, I’ll share the traditional way to make french bread as well, but with Thanksgiving coming up, I wanted to share a very simple version that you can make, still impress, but not have all the stress that comes with a traditional baguette.
WHY A BREAD MACHINE
I’ve had the comment made more than once, that I’m pretty much using the bread machine as a gloried stand mixer and should just use that. Which, for some things, Is a “Yes, that’s the better way to do it!”. Sourdough, for example, using a traditional starter, should be proved in a bowl, and done by hand. However, the great thing about a bread machine is that I can put all the ingredients in, let it do the majority of the need, and walk away without concern. I have 5 kids! If I can walk away for 2 hrs, and come back to a well-mixed and proofed dough, I’m going to.
The other thing is that a bread machine that has a dough setting also keeps the temp consistent, which I can honestly say is not the same in my house.
Don’t worry. If you want to make the traditional version, I’ll share it soon. Sign up for my newsletter so you get the recipe when it’s live!
A FEW NOTES BEFORE GETTING STARTED
Make sure you follow your bread machine’s directions. Whatever the order is for your bread machine. Do that.
Instant (or Bread Machine) Yeast works the best for all bread machines (mine is less picky I have been able to use dry active and it is fine, but as far as I know, all bread machines require Instant Yeast -or bread machine- for their own recipes). So to ensure success, use Instant Yeast.
ABOUT THE INGREDIENTS
- Water: so simple, you’ll have the best luck using good clean water. If your water is highly treated or smells like chlorine out of the tap, consider using filtered water. Simple ingredient breads, like this one, tend to love mineral-rich well water.
- All-Purpose Flour: Use a high-quality all-purpose flour King Arthur Flour. Their all-purpose flour has a gluten content close to European flour and you’ll have good results with them.
- Salt: use kosher or sea salt. Pink will change the color of the bread and
- Yeast: Instant (or Bread Machine) Yeast should be used. Even if you’re not using a bread machine.
- Honey: I’ve tried sugar, and honestly, I love honey in this recipe so much better. Just like sugar would, it helps the yeast do its thing (create rise and air bubbles), but it just adds a little somethin’-somethin’ to the bread and compliments the simple yet complex flavor that is a baguette. It doesn’t really “sweeten” the bread, like a sweet roll, so don’t worry about that.
COOKING WITH KIDS
DISCLOSURE: These tips are generalized, and meant to be suggestive. Everything I’m sharing I do with my kids, and they are all different even within my own five. So please take these as suggestions or ideas and if you think your child needs more or less help, then go with what you and your child are comfortable with. Ultimately, you know your kids, do what YOU think is best.
Since we’re using a bread machine, it makes it a bit easier to help with the really little ones. As always, measuring ingredients is a great way to not only let them help but they will learn math as well. Other ways they can help:
WHAT TO DO WITH YOUR BAGUETTE
Here are a few of my favorite dishes to enjoy with that freshly baked baguette…
- Mozzarella Croutons
- The Best No Wine French Onion Soup
- Crostini
- Roasted Butternut Squash Soup
- Chicken, Spinach, and Gnocchi Soup
Need more bread machine recipes? Check out Bread Machine Steamed Bao Buns or Hé Yè Bāo (荷葉包)
ENJOY AND SHARE
Your feedback is important to me! Please let me know what you think of this Bread Machine French Baguette recipe in the comments! Don’t forget to rate this recipe using the star icons. Your input helps me improve future posts and the blog overall, and in the end, it all helps me to help YOU. Thank you!
Don’t forget to tag me on Instagram or Facebook, @jenngiamsmith #JennGiamSmith I will always share your posts on my stories and tag you! You can also share it on this post’s Pinterest Pin! Don’t forget to follow me on Pinterest for a steady stream of recipe (and other) inspiration!
It’s always wonderful to see loved ones coming together over delicious food.
French Baguette in the bread machine
- Total Time: 3 hours 5 minutes
- Yield: 3 loaves 1x
Description
There is nothing like the smell and taste of a freshly baked French baguette. Crusty and beautifully colored on the outside, buttery soft and chewy on the inside, Serve it with butter, olive oil, or with your favorite soup. It’s a perfect way to say “I love you” to you anyone (including yourself).
Ingredients
- 3 1/2 cups all-purpose flour(I recommend using the ‘scoop and swipe’ method)
- 1 1/2 cups warm water
- 1 teaspoon kosher salt
- 1 1/2 teaspoons instant yeast
- 1 Tablespoon honey
For the baking process ONLY
- 1 cup very cold water (see INSTRUCTIONS 8 for details)
Instructions
- In the order recommended by the manufacturer, place all the above ingredients (excluding the 1 cup of very cold water) into your bread machine. Select the dough cycle and press START. If available, set the time to 1 hour and 30 minutes.
- Once the dough cycle has completed, remove the dough from the bread machine and transfer it to a lightly floured surface. Knead the dough a few times until it bounces back.
- Divide it into three equal parts and shape each part into a rectangle. Cover the dough and let it rest for 30 minutes.
- While the dough is resting, preheat your oven to 500°F. Position an oven rack in the upper half of the oven and place an empty-rimmed baking pan on the bottom rack.
- Stretch each dough rectangle slightly and fold it into a cylinder shape, sealing the seams. Using your hands, gently roll the cylinders to the desired length, approximately 14-15 inches.
- Flour the baguettes, cover them with a slightly damp flour sack towel or a couche, and let them proof at room temperature for about 30 minutes.
- Transfer the baguettes to a piece of parchment paper or silicone mat lined baking sheet. Using a bread lame, a sharp knife, or a razor blade, make three diagonal scores on each baguette. Refer to the notes (1) for detailed instructions.
- Open the oven and slide the pan into the oven. Pour cold water into the empty pan on the bottom rack. Be cautious to avoid burns fom the hot steam. Immediately close the oven door and do not reopen it. Reduce the oven temperature to 475°F. Bake the baguettes for 15 minutes.
- Rotate the baguettes, lower the oven temperature to 450°F, and continue baking for another 15 minutes until they achieve a deep golden brown color.
Equipment

Stainless Steel Baking Sheet Set with Silicone Mats and Cooling Racks (Set of 9)
Buy Now →Notes
-
When scoring, use a swift and firm motion to ensure nice and clean cuts. You could also cut it into a Pain d’épi.
- Prep Time: 20 minutes
- Cook Time: 15 minutes
- Category: bread
- Method: baking
- Cuisine: French
Want to remember this post?
Pin it to your favorite Pinterest Board!


©Photo, Prop Styling, and Food Styling by Jenn Smith


