DIY Oil and Vinegar Dispenser: Upcycling Made Easy
This post may contain affiliate links, which means that I make a small commission off…
This post may contain affiliate links, which means that I make a small commission off items you purchase at no additional cost to you. Please read my Affiliate Disclosure
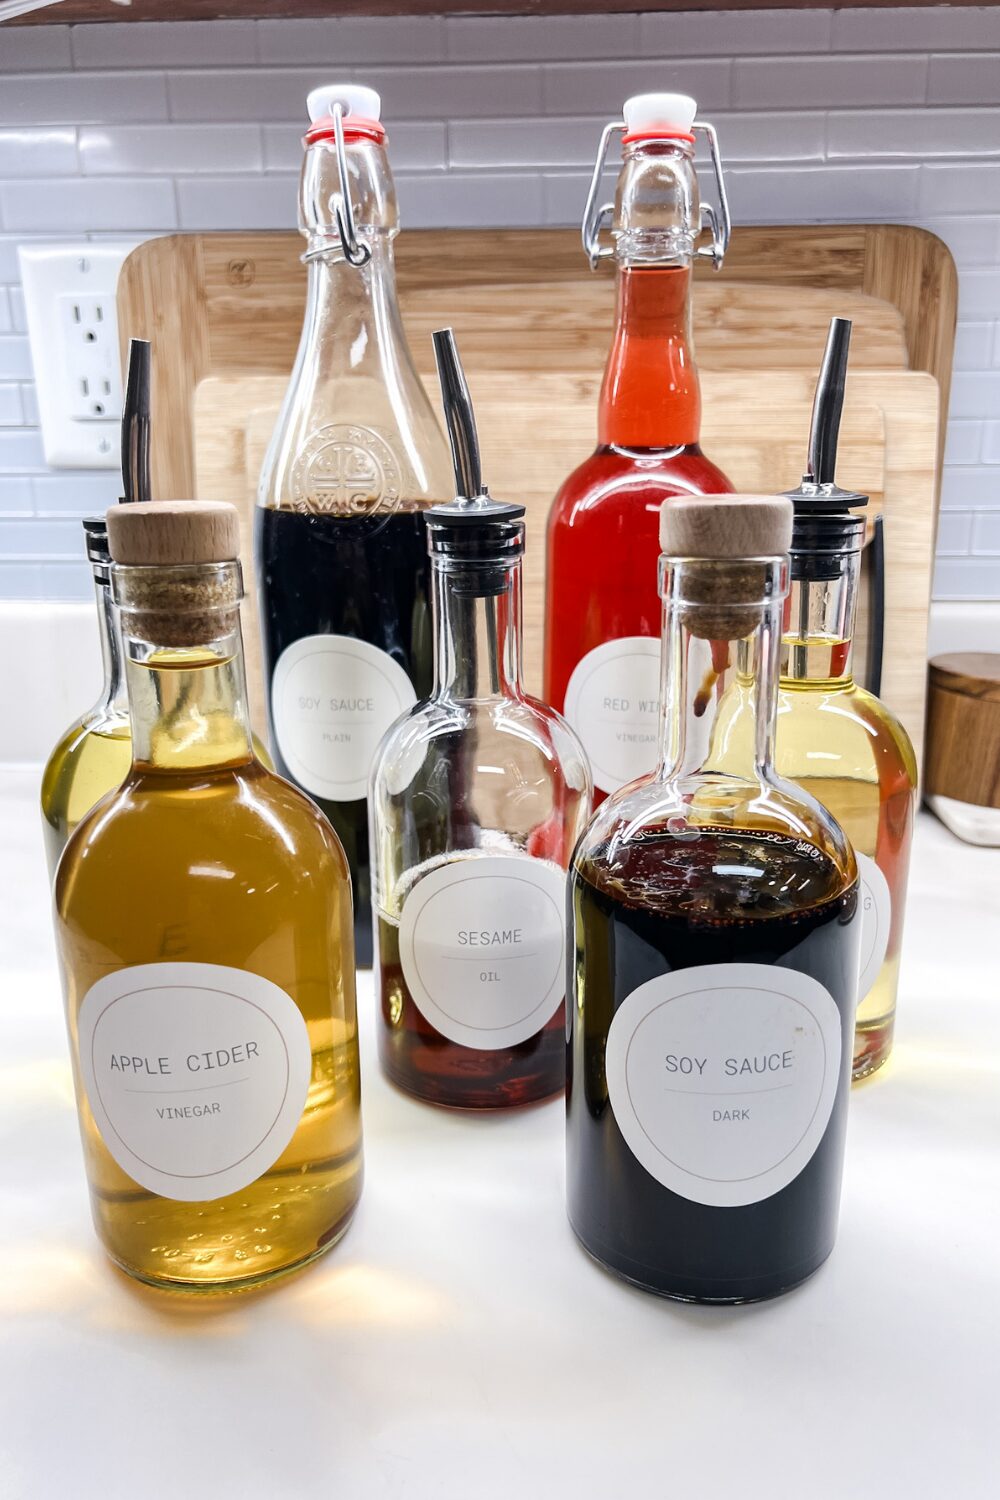
I don’t know about you, but this time of year has me buzzing with ideas for getting more organized! Not too long ago, I began an exciting collection of these sleek, modern bottles from my favorite pre-made cocktails. I scrubbed off the labels, polished the corks, and soon enough, they were strutting their stuff along my sink window while I brainstormed what to do with them. Then, inspiration struck: hello, fabulous Oil and Vinegar Dispensers!
It was one of those lightbulb moments as I scrolled through Instagram and stumbled upon someone raving about a trendy oil dispenser they found on Amazon. That’s when it hit me—the bottles I had were a perfect match!
Now, I can’t wait to share the entire process with you, along with some awesome free sticker printables to get your creativity flowing! Let’s transform those bottles into something amazing!
I’m a big fan of repurposing and upcycling whenever I can. If you don’t have a favorite bottle to use yet, no worries! I’ve also found some really sleek and simple bottles that you might love.
To make things even easier, I’m sharing some fun, free sticker templates. You can print them out, stick them on, and start using your bottles in style!
WHAT IS AN OIL DISPENSER
An oil dispenser is a practical kitchen tool designed to hold and dispense liquids such as oil or vinegar. Many models incorporate features that allow for better control over the amount of liquid dispensed, including tilting openings or buttons that release a specific quantity.
For my purposes, I prefer a straightforward design since I often cook without precise measurements. I prioritize a smooth and easy pouring experience over sophisticated features. However, I recognize that different cooking styles may require various functionalities. With that ihn mind, I have included some shopping options that highlight the available choices without overwhelming you.
HERE’S WHAT YOU’LL NEED
Below is a basic list that includes an easy “Shop the Post” section. I encourage you to find some beautiful old bottles and upcycle them instead.
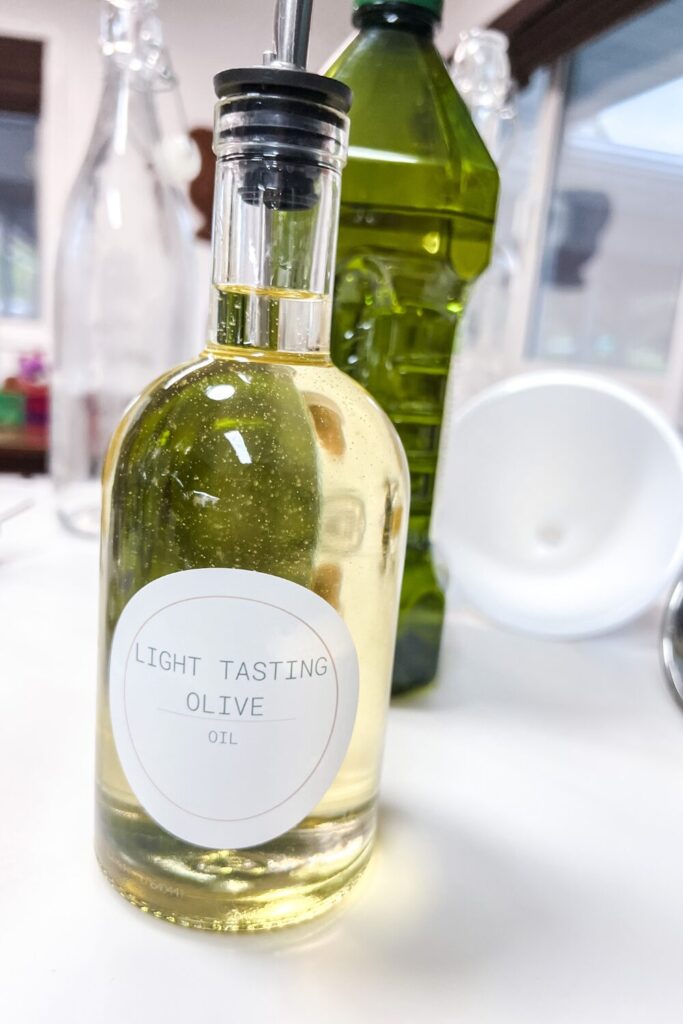
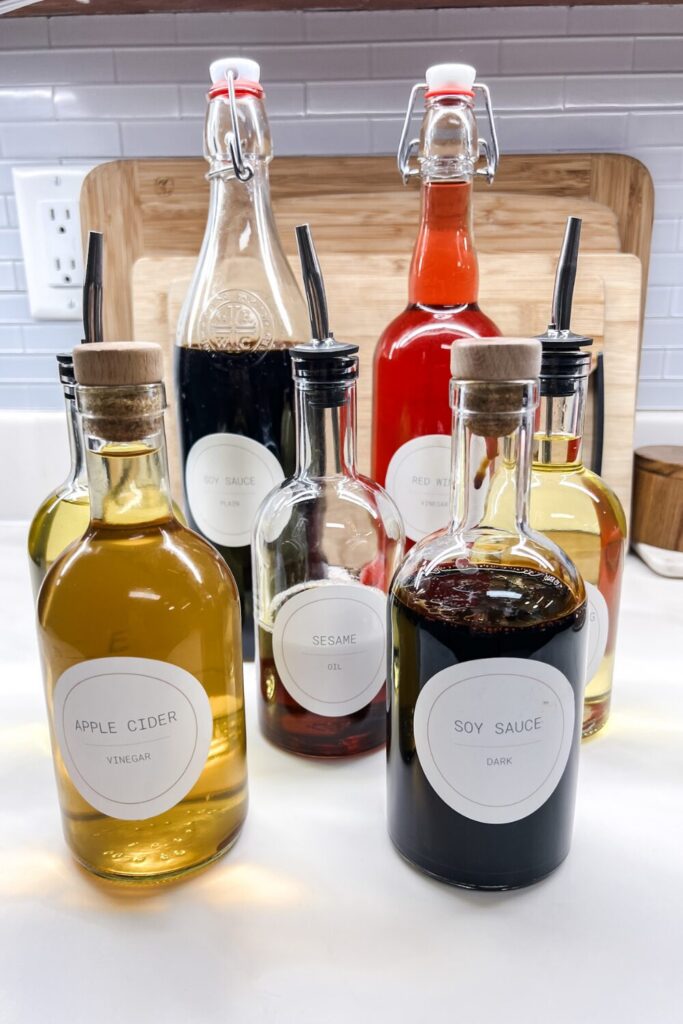
- Clean bottle: I used both 750 mL and 375 mL bottles. Some had cork lids, and some had flip tops. All of mine were purchased for other uses (like alcohol or some fun dairy drink) that I cleaned out. I provided some options below in case you would rather just buy them.
- Bottle spouts: These will be for any oils you don’t want/have the lids for. I had some extra from a different time I bought them. so that is what I used.
- Funnel: This helps put the oils and vinegars into the jars easily. Below in the “Shop the Post” section, I show a set of spouts that came with a small funnel.
- Labels: I used circle labels, but I know square labels are trending right now. So I’m providing both versions for my label templates.
- Printer: To print your labels
THE PROCESS
1. CLEAN EVERYTHING
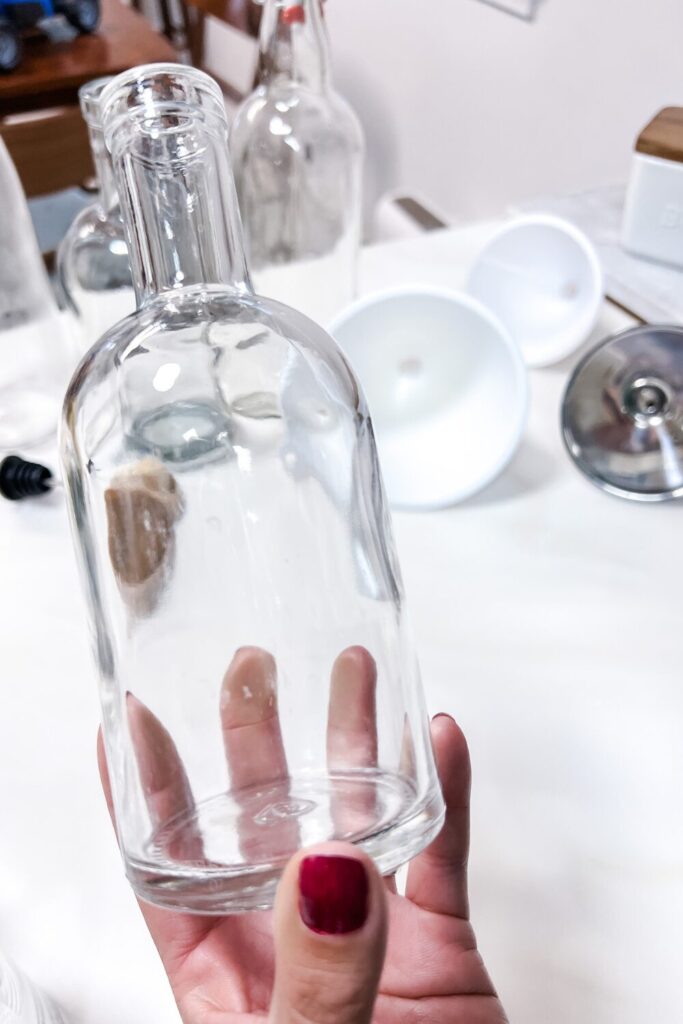
To get started, the process is quite straightforward. The first thing you’ll need is bottles. I really want to emphasize the importance that whether you choose to purchase new bottles or reuse old ones, you should always clean them thoroughly beforehand. Even brand-new bottles can have dust and other particles. So a good cleaning and thorough drying are essential to ensure they are safe for use and your cooking products stay their best quality
2. PUT THE LABEL ON
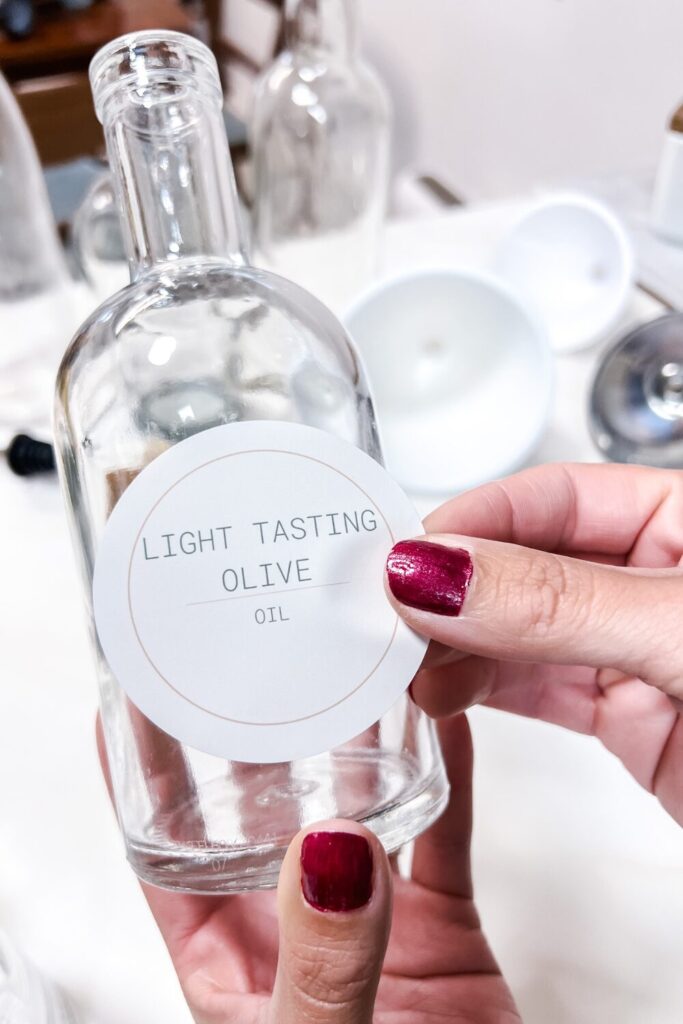
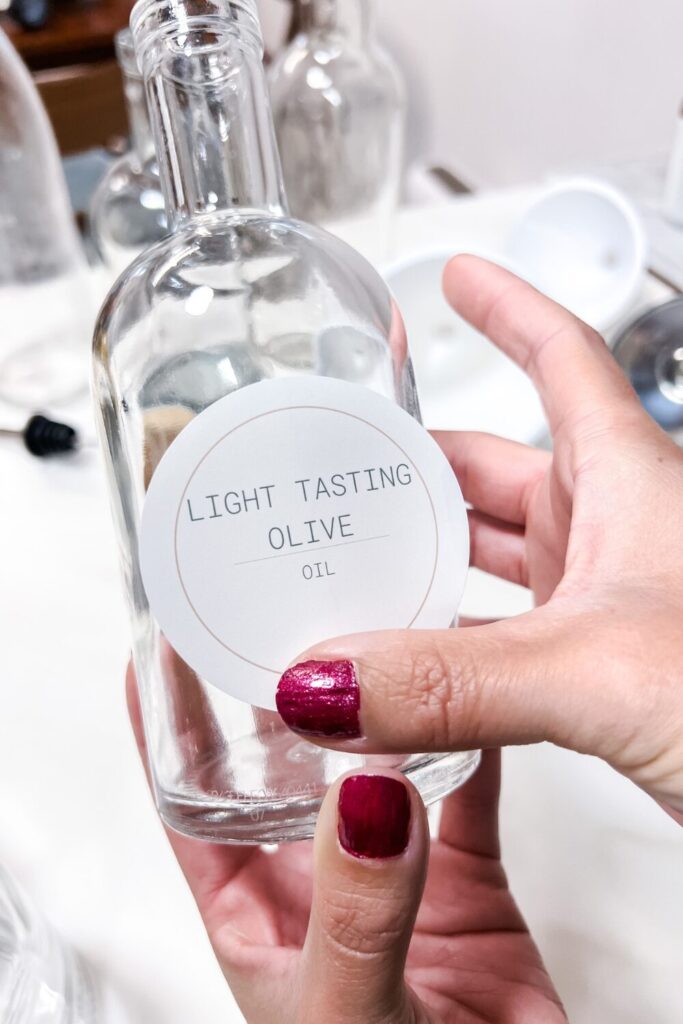
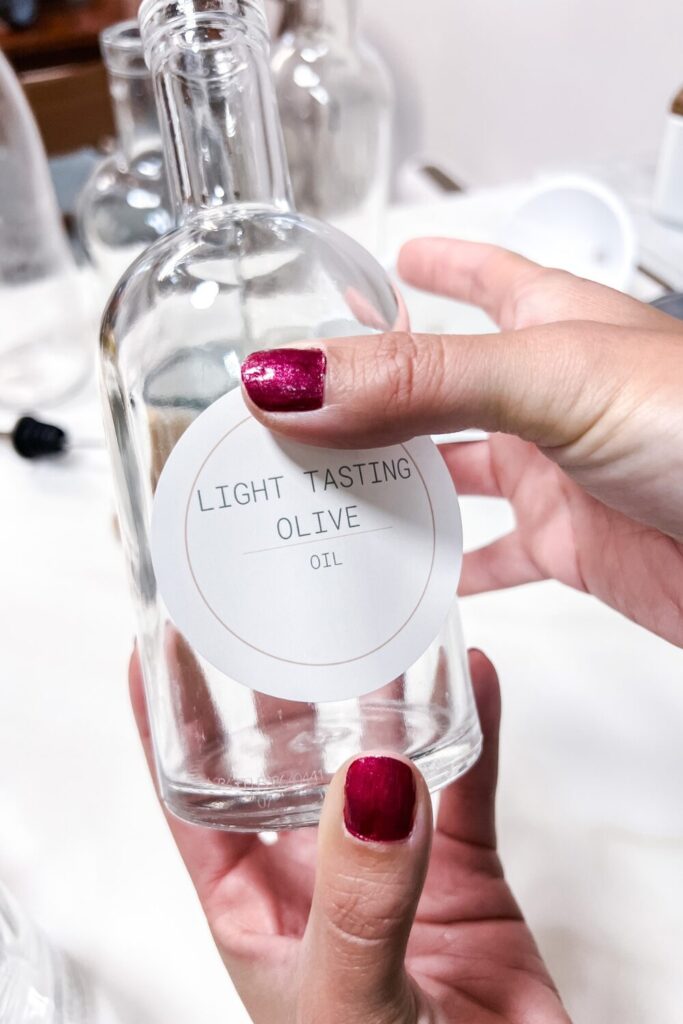
Next, carefully place the label on the bottle. When applying a label to a bottle, begin by positioning it gently in the desired location. Start pressing down from the center and work your way outward to minimize the risk of creating bubbles or creases in the label. This technique ensures a smooth and professional-looking application.
3. FILL THE BOTTLE
Using a bottle funnel, fill the now-labeled bottle with the liquid of your choice. Using the funnel ensures a clean and spill-free transfer.
4. INSERT SPOUT
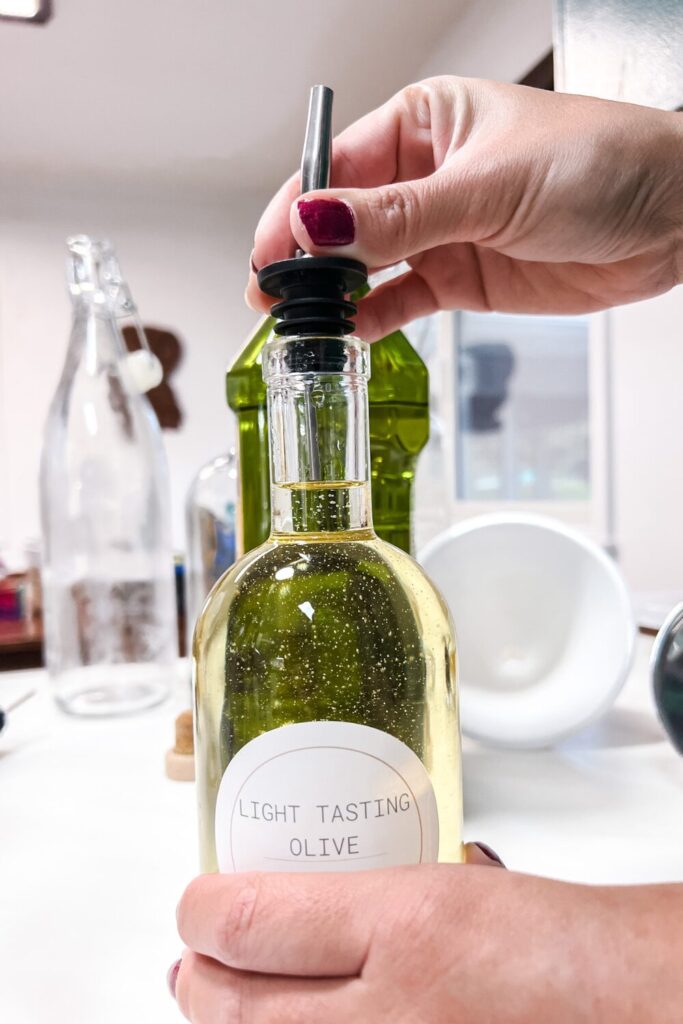
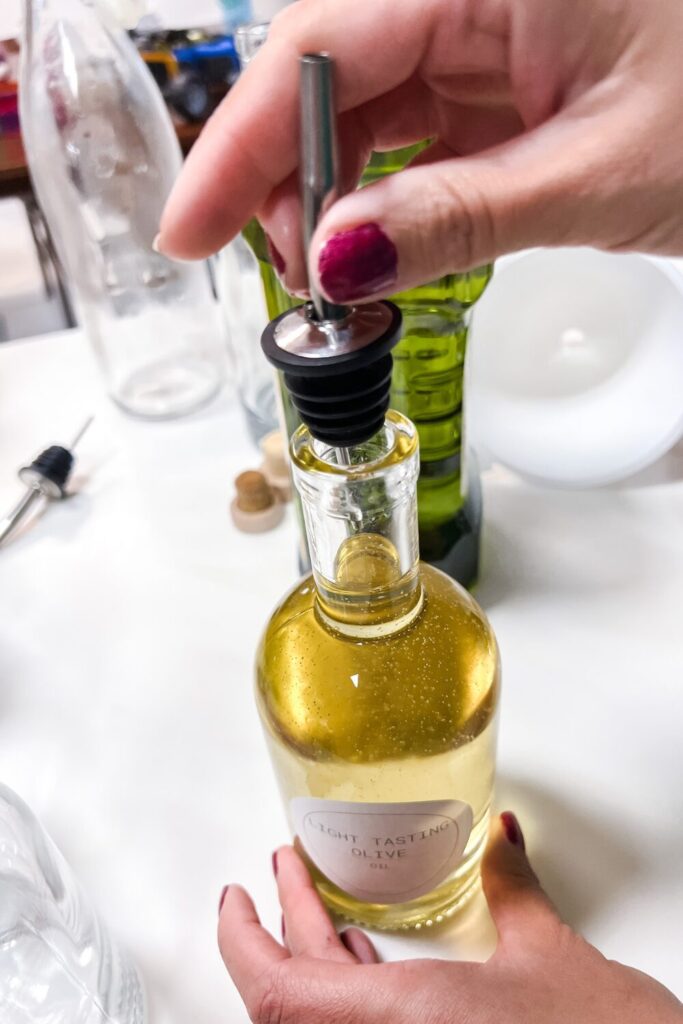
If this bottle is using a pour spout, you will insert the spout of your choice AFTER putting the label on. Make sure to hold on to the bottle so it doesn’t slide out from under your hand, inserting the spout. A pour spout offers quick and easy pouring. Alternatively, you may opt for a bottle with different closures, such as a cork, screw top, or swing-top, each offering its own benefits for sealing and dispensing.
THE LABELS
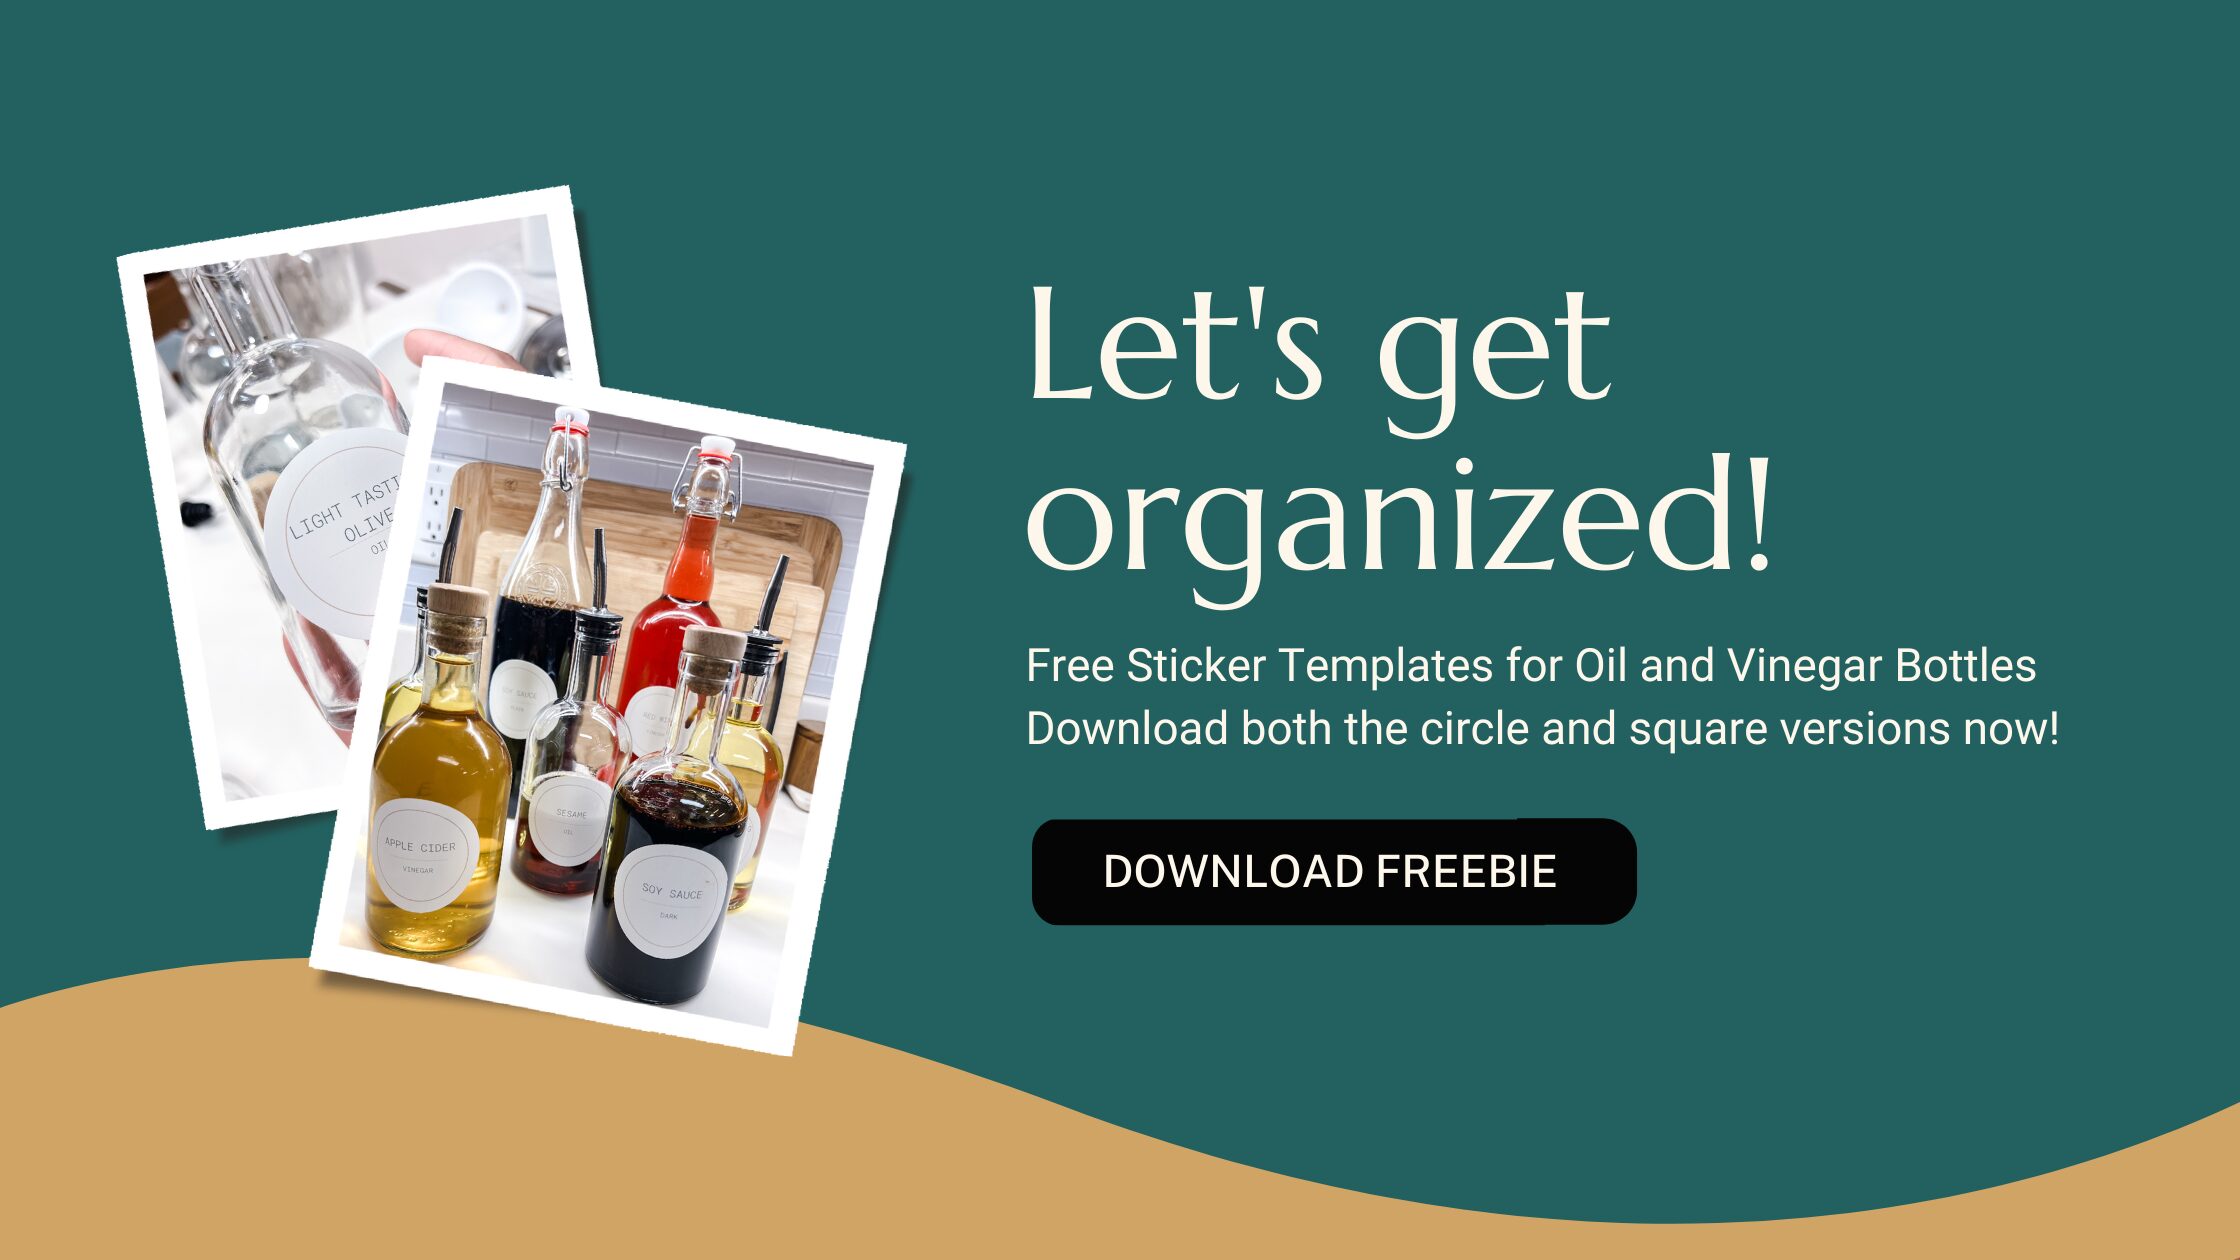
The moment you’ve all been waiting for—the FREE labels! 🎉 Just click below, and I’ll send them straight to your inbox!
READY TO TRY THESE OIL BOTTLES OUT?
Try these recipes:
MAKE MID-WEEK A LITTLE EASIER
Sign up below, and I’ll send you a FREE E-BOOK featuring six of my all-time favorite mid-week recipes!
SHOP THIS POST
 Buy Now →
  Buy Now →
  Buy Now →
  Buy Now →
Auto Pourer Spout Set- (4 Spout-L+Funnel)
Buy Now →
Stainless Steel Pourer Spout Set (2PCS)
Buy Now → Buy Now →
  Buy Now →
  Buy Now →
 ©Photo, Prop Styling, and Food Styling by Jenn Smith owner of Jenn Giam Smith; Jenn Smith, LLC

